Effortlessly Extract Apple Juice at Home: No Juicer Needed!
You bought a bag of apples at the farmers market with every intention of drinking fresh juice. Then life got busy. The apples sat for a week. You looked up recipes, found most of them assume you own a $200 masticating machine, and closed the browser tab.
Here is the short version: you do not need a fancy juicer to make great apple juice. A blender, a fine-mesh strainer, or even a potato ricer will get the job done. It takes more hands-on time, but the juice is just as clean, just as sweet, and costs nothing extra. This article walks through the three best no-juicer methods, the math behind yield, and the one tool that makes the whole process faster if you decide to upgrade later.

Floisdace
Cold Press Juicer, 6" Extra Large Feed Chute Slow Masticating Juicer Machines, Powerful AC Brushless Motor, Self Precut System, Juicer Machines with BPA-Free, Extra one Replace juicer strainer
- AC Brushless Motor - Our juicer machine features a whisper-quiet & durable motor (35dB noise level), ensuring a 10+ years lifespan…
- Slow Cold Press Juicer - Floisdace juicer cold pressed operates at just 50 RPM, minimizing heat buildup and oxidation to retain ma…
- 99.6% High Yield & Easy Clean - This cold press juicer extracts more juice with optimal pulp separation for richer flavor. The det…
I will also point you toward a cold press juicer that skips the prep work entirely — but only after you understand what you are buying and why. Let us get to it.
If you eventually want to skip the straining and chopping, the Floisdace Cold Press Juicer handles whole apples without pre-cutting. Its 6-inch feed chute fits a full apple, and the slow 50 RPM spin keeps oxidation low. But that is a convenience play, not a necessity. Start with what you own.
The three methods that actually work without a juicer
Every no-juicer method follows the same logic: break down the apple flesh, then separate liquid from pulp. The tools differ. So do the cleanup times and final clarity.
Method one: blender and cheesecloth
Core the apples. Chop them into chunks roughly the size of a walnut. Do not peel — the skin adds flavor and color. Toss the chunks into a blender with no water. Apples release plenty of juice on their own. Pulse five or six times until the mash looks like a coarse slushy. Do not run the blender continuously; that whips air in and accelerates browning.
Pour the mash into a bowl lined with cheesecloth or a nut-milk bag. Gather the corners and twist. Squeeze firmly over the bowl. You should get about 10-12 ounces of juice per pound of apples. The leftover pulp makes a good base for apple sauce or compost.
One downside: cheesecloth can tear under pressure. Double-layer it. A nut-milk bag is tougher and reusable. This method takes about 20 minutes for a half-gallon of juice, including cleanup.
Method two: box grater and fine-mesh strainer
Grate whole apples on the largest holes of a box grater. Work over a bowl to catch drips. Your wrist will get tired after three or four apples, so this works best for small batches — one or two glasses.
Scrape the grated pulp into a fine-mesh strainer set over a bowl. Press with the back of a spoon. The juice runs through quickly because the grating already broke most of the cell walls. Yield sits around 8-10 ounces per pound, slightly lower than the blender method because grating leaves larger pulp pieces holding some liquid.
This method produces the clearest juice of the three. No blender froth, no sediment. Cleanup is simple: rinse the grater and strainer.
Method three: pot and potato ricer
Steam or boil apple chunks for 5 minutes until soft. Let them cool until you can handle them. Load small handfuls into a potato ricer and squeeze over a bowl. The cooked apples release juice effortlessly. You lose some heat-sensitive nutrients, but the yield jumps to nearly 90% by weight.
This method is the fastest for large batches because heat softens the apples completely. One caveat: the juice tastes cooked. It works fine for mulled cider or mixing into cocktails, but if you want raw, fresh apple flavor, stick with the blender or grater.
No, more watts does not mean better juice
One of the most persistent misconceptions in home juicing is that higher wattage equals more juice or better quality. It does not.
Centrifugal juicers (the kind with spinning blades and a mesh basket) often boast 800-1000 watts. They spin at thousands of RPM, shredding apples and forcing juice through a strainer by centrifugal force. That speed heats the juice and whips in air, which oxidizes polyphenols and reduces shelf life. You get foam. You lose flavor. The motor power is only moving a blade faster — not extracting more liquid.
Cold press masticating juicers, like the Floisdace model mentioned earlier, run at 50 RPM with a 120-150 watt AC brushless motor. That is a sixth of the power but nearly twice the yield when measured against centrifugal machines. The slow grind crushes cells open without heat, so the juice stays green longer and tastes closer to the apple itself.
Watts matter only if you are trying to push through tough produce. Carrots and ginger need torque. Apples do not. A low-watt masticator handles apples easily because the auger does the work, not the motor. So when you see a 1000-watt centrifugal juicer on sale, ask yourself: do I want noise and foam or quiet and yield?
The real difference between filtered and unfiltered apple juice
Most store-bought apple juice is filtered to crystal clarity. The cloudiness comes from insoluble fiber — pectin, cellulose, and tiny bits of pulp. Filtering removes those solids, producing a longer shelf life but stripping some of the fiber that makes fresh juice satisfying.
When you extract juice at home without a juicer, you control the filter grade. Cheesecloth yields moderately cloudy juice. A fine-mesh strainer gives nearly clear juice if you let it drip without pressing. A nut-milk bag pressed firmly produces juice somewhere between cloudy and clear. None of these remove all the fine particles, so your juice will always be more nutritious than anything from a carton.
If you want brilliantly clear juice, let the strained juice sit in the fridge for two hours. The sediment settles to the bottom. Pour off the top layer. That is as close as you get without a commercial filter press.
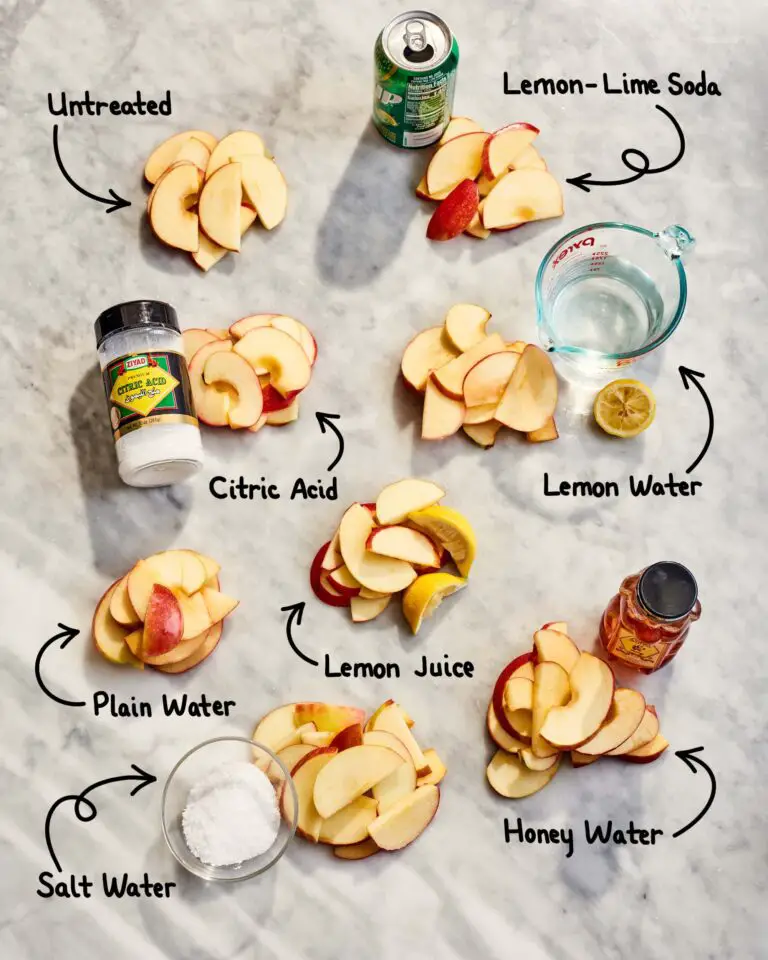
One more thing: unfiltered juice oxidizes faster. Drink it within 24 hours. If you need to store it, fill a glass jar to the brim, cap it tight, and refrigerate. Or add a squeeze of lemon — the ascorbic acid slows browning.
| Method | Yield per lb apples | Time for 1 quart | Clarity | Cleanup effort |
|---|---|---|---|---|
| Blender + cheesecloth | 10-12 oz | 20 min | Cloudy | Moderate |
| Box grater + strainer | 8-10 oz | 30 min | Clear | Easy |
| Steam + ricer | 13-14 oz | 35 min | Very clear | Low |
| Floisdace cold press | 14-16 oz | 10 min | Cloudy (no foam) | Easy (self-clean parts) |
The cold press juicer wins on yield and speed, but it costs money. The other methods cost nothing. Choose based on how often you juice.
Why most people give up on manual juicing (and how to avoid that)
I have seen friends try the blender method once, get frustrated with the squeezing, and buy a $30 centrifugal juicer that sits in the garage after two uses. The failure is not laziness — it is expectation mismatch.
Manual methods are labor intensive. That is the trade-off. If you plan to juice three pounds of apples every Sunday morning, the blender method will start to feel like a workout. Your hands get tired. The cheesecloth leaks. You wonder why you are not just eating the apple.
Here is how to make it sustainable: batch the work. Chop and blend all the apples at once. Let the mash drain in a colander lined with a dish towel while you do something else. Come back ten minutes later and squeeze. Or freeze the mash in quart bags and thaw when you want juice. The cells break during freezing and thawing, so you get more juice with less squeezing.
Another tip: use a pair of kitchen tongs to twist the cheesecloth bag instead of twisting with your hands. That saves your grip.
If these workarounds sound like too much effort, then a dedicated juicer makes sense. The cold press juicer 400w slow masticating model does the same thing as a blender and cheesecloth but in one pass with zero manual squeezing.
People also ask
Can I use a food processor instead of a blender?
Yes, but the result is chunkier. A food processor chops unevenly, leaving large pieces that hold juice. You will get less yield. A blender pulverizes more thoroughly. If you only have a food processor, run it longer and stop to scrape down the sides.
Do I need to peel the apples first?
No. Apple skin contains quercetin and fiber. Leaving it on adds color and nutrients. The only reason to peel is if you want pale juice or the apples are waxed heavily. In that case, scrub them with warm water and a brush instead.
How long does homemade apple juice last in the fridge?
If you strain it thoroughly and store it in an airtight container, 24-48 hours. After that the flavor dulls and separation occurs. Shake it before drinking. Do not leave it at room temperature longer than two hours.
Can I juice apples without any tool at all?
Chew them. That is the original method. Your teeth are basically a masticating juicer. But if you want liquid without pulp, you still need a strainer. No way around that.
Is apple juice from a blender healthier than store-bought?
Usually yes. Store-bought juice is often filtered, pasteurized, and sometimes diluted with water or sugar. Your homemade juice contains the full nutrient profile of the apple plus whatever fiber passes through your strainer. The trade-off is shelf life — yours will spoil faster.
What matters most when choosing a juicing method
- Time vs. money. Manual methods cost nothing but take 20-30 minutes per quart. A cold press juicer costs upfront but saves that time every batch.
- Yield is not fixed. The same pound of apples can give 8 ounces or 14 ounces depending on your method and how hard you squeeze. The cold press juicer consistently hits the high end because the auger applies even pressure.
- Foam means oxidation. If your juice has thick foam, you introduced too much air. Blender methods always foam a little. Masticating juicers produce zero foam.
- Cleanup matters more than you think. The best juicer is the one you actually use. If cleaning a blender and cheesecloth makes you skip Sunday, you need a different approach.
- Apple variety changes everything. Fuji and Gala are sweet, low-acid. Granny Smith gives tart juice with a green tint. Honeycrisp balances sugar and acid well. Mix types for a complex flavor.
- Cold press preserves color. Juice from a slow masticator stays bright for hours. Juice from a blender starts browning within 15 minutes. Drink fast or add lemon.
- You do not need a juicer to start. Use what you have. Drink the juice. If you fall in love with fresh juice, then consider a machine like the Breville Juice Fountain Cold centrifugal juicer or a dedicated masticator. Your first glass should not cost you a thing.