How Do You Connect A Juicer To A Kitchenaid Mixer?
[su_note note_color=”#fb8e00″ text_color=”#000000″ radius=”12″]
Relating to making fresh juice, people often wonder how to connect a juicer to a Kitchenaid mixer. Whether they are new to juicing or just want to upgrade their kitchen appliances, they are searching for step-by-step instructions or a guide on how to properly attach a juicer attachment to their Kitchenaid mixer.
By observing these instructions, they can easily transform their mixer into a powerful juicer and enjoy the benefits of fresh, homemade juice. So if you’re ready to start juicing with your Kitchenaid mixer, here are some simple steps to get you started.
[su_box title=”
[/su_box]
Embracing the Kitchenaid Mixer and Juicer Attachment
1. Overview of the Kitchenaid Mixer
The Kitchenaid Mixer is a versatile and powerful kitchen appliance that has become a staple in many households. It can handle a wide range of tasks, from mixing dough to whipping cream, thanks to its robust motor and various attachments. The mixer is designed with a tilting head and a large mixing bowl, making it easy to access and efficient to use.
Key Features:
- Powerful Motor: The Kitchenaid Mixer is equipped with a strong motor that ensures thorough and consistent mixing.
- Tilting Head: The tilting head design allows for easy attachment of accessories and convenient access to the mixing bowl.
- Large Mixing Bowl: The mixer comes with a spacious mixing bowl that can accommodate a significant amount of ingredients.
2. Introduction to the Juicer Attachment
The Juicer Attachment is a popular accessory for the Kitchenaid Mixer, which allows users to transform their mixer into a juicer. It offers a convenient and efficient way to extract juice from fruits and vegetables, providing a fresh and healthy beverage option.
Key Features:
- Ease of Attachment: The Juicer Attachment is designed to easily attach to the Kitchenaid Mixer, ensuring a secure fit and hassle-free setup.
- Efficient Juice Extraction: With its powerful motor and specialized juicing mechanism, the attachment effectively extracts juice from a variety of fruits and vegetables.
- Easy to Clean: The Juicer Attachment is designed for easy cleaning, with removable parts that are dishwasher-safe.
[su_highlight background=”#f6b40f”]Expert Tips:
1. Upgrade your Kitchenaid Mixer with the Juicer Attachment for fresh and healthy homemade juices.
2. Take advantage of the powerful motor and efficient juicing mechanism for maximum juice extraction.
3. Easily attach and detach the Juicer Attachment for hassle-free setup and cleaning.
4. The large mixing bowl of the Kitchenaid Mixer allows you to juice a significant amount of fruits and vegetables at once.
5. Experiment with different fruits and vegetables to create delicious and nutritious juice blends.[/su_highlight]
Preparing the Kitchenaid Mixer and Juicer Attachment
1. Gather the necessary equipment
Before you start, make sure you have all the equipment needed to connect your juicer to the Kitchenaid mixer. This includes:
- – Kitchenaid mixer
- – Juicer attachment
- – Power cord
- – Fresh fruits or vegetables
- – Cutting board
- – Knife
- – Clean towel
2. Ensure the mixer is turned off and unplugged
Prior to attaching the juicer, it is important to turn off and unplug your Kitchenaid mixer. This will prevent any accidental activation or injury during the process.
3. Remove any existing attachments from the mixer
Check if there are any attachments already connected to your mixer. If there are, carefully detach them following the manufacturer’s instructions. This will ensure a clean and secure connection for the juicer attachment.
4. Familiarize yourself with the juicer attachment components
Take a moment to familiarize yourself with the different components of the juicer attachment. These typically include a feed tube, juicing bowl, auger, strainer, and juice container. Refer to the user manual provided with the attachment for specific details and assembly instructions.
| Component | Description |
|---|---|
| Feed tube | A tube through which the fruits or vegetables are inserted for juicing. |
| Juicing bowl | A bowl that collects the juice extracted from the fruits or vegetables. |
| Auger | A rotating screw-like device that helps extract juice from the produce. |
| Strainer | A filter that separates the juice from any pulp or seeds. |
| Juice container | A container to collect the extracted juice. |
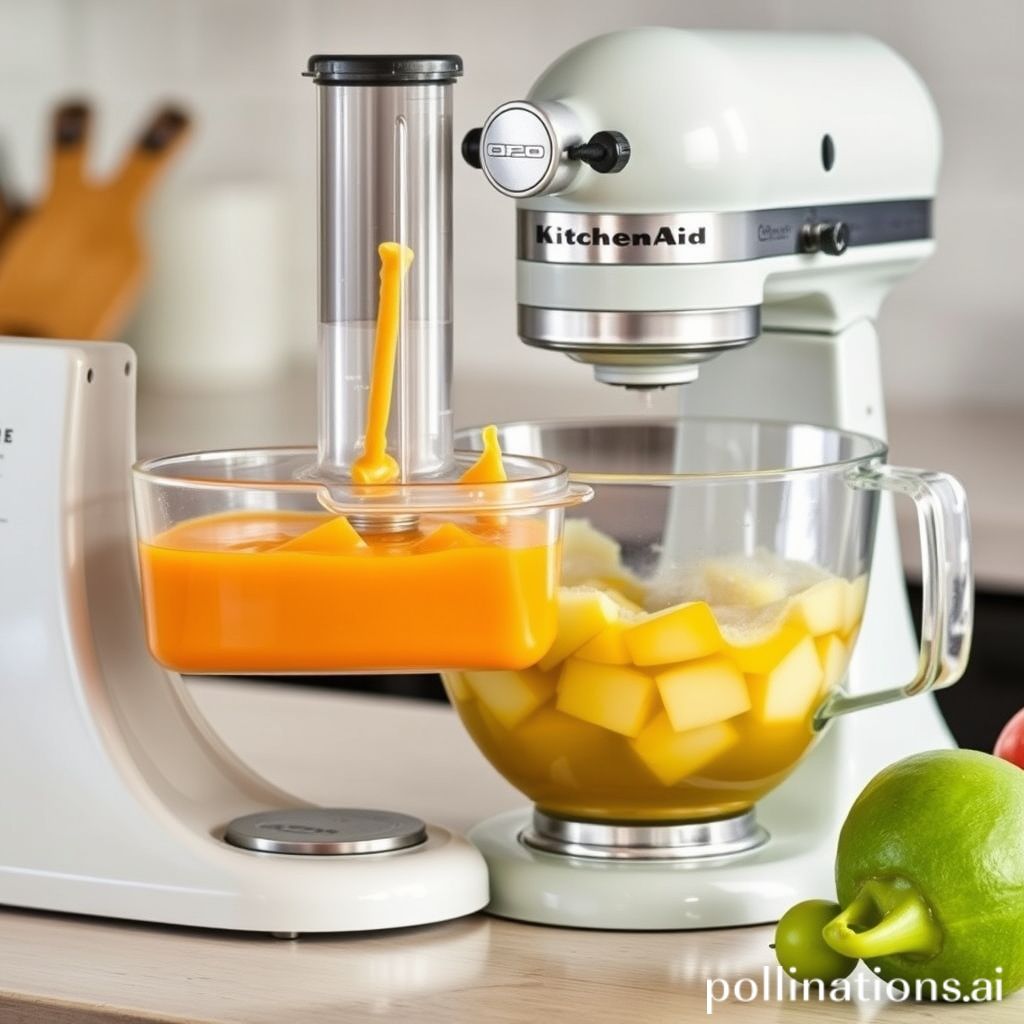
Attaching the Juicer Attachment to the Kitchenaid Mixer
Step 1: Find the attachment hub on the mixer
To connect a juicer to your Kitchenaid mixer, locate the attachment hub. This is where you can attach different accessories, including the juicer attachment.
Step 2: Align the juicer attachment with the attachment hub
Once you’ve found the attachment hub, take the juicer attachment and align it with the hub. The juicer attachment has a shape that matches the hub, ensuring a proper fit.
Step 3: Insert the attachment into the hub and rotate it clockwise until it locks
With the juicer attachment aligned, gently insert it into the attachment hub. Apply slight pressure and rotate the attachment clockwise until it locks into place. You may hear a click or notice that it’s securely attached to the mixer.
Step 4: Check that the attachment is securely attached
After attaching the juicer, double-check that it’s securely attached. Give it a gentle tug to ensure it doesn’t come loose. If it feels loose or wobbly, repeat the attachment process, making sure to fully rotate it clockwise to lock it into place.
Preparing and Using the Juicer Attachment
1. Prepare the fruits or vegetables for juicing
Before connecting the juicer attachment to your Kitchenaid mixer, it is important to prepare the fruits or vegetables that you want to juice. Make sure to wash them thoroughly and remove any seeds, stems, or hard skins. Cut them into smaller pieces that will fit through the feed tube of the juicer attachment.
2. Attach the juice bowl and strainer to the juicer attachment
To connect the juicer attachment to your Kitchenaid mixer, first, make sure that the mixer is turned off and unplugged. Then, locate the attachment hub on the front of the mixer. Insert the juicer attachment into the attachment hub and twist it clockwise until it locks into place. Attach the juice bowl and strainer to the juicer attachment following the manufacturer’s instructions.
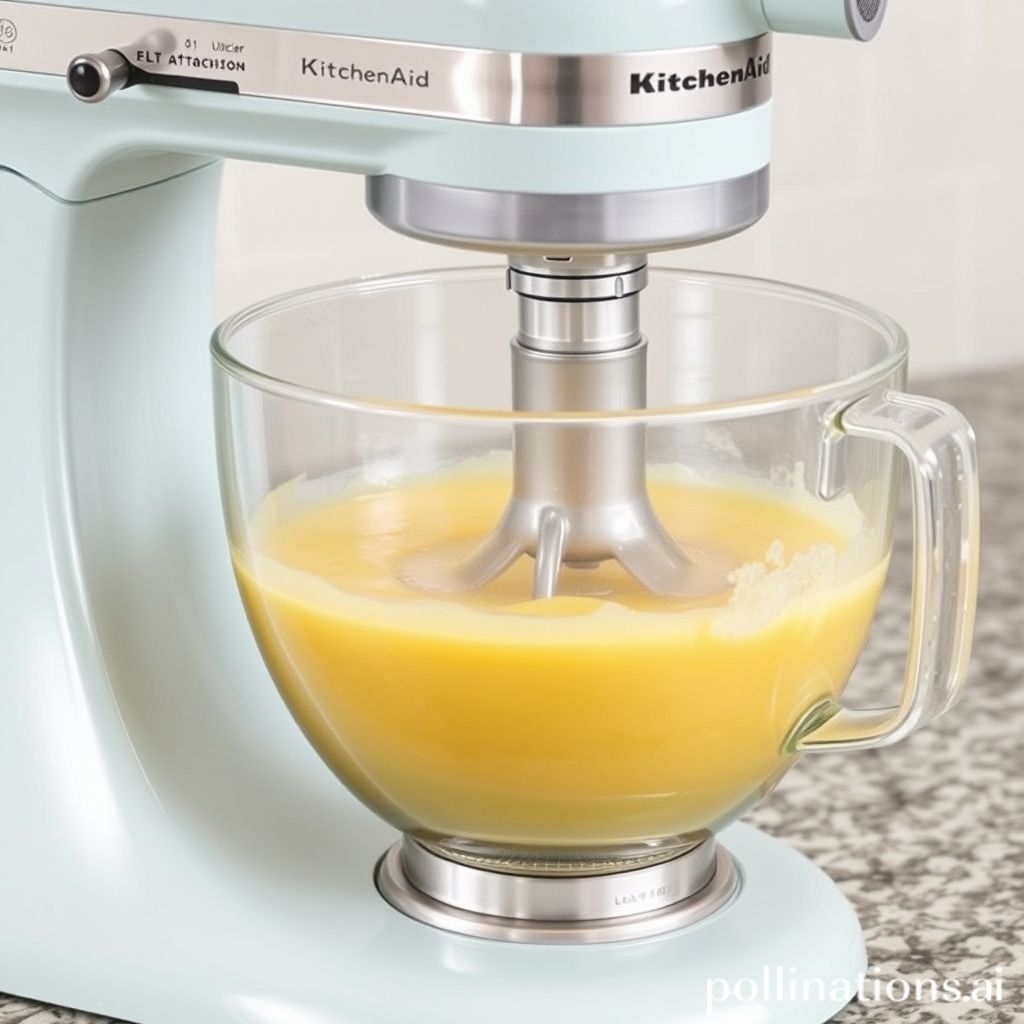
3. Place a glass or container under the spout to catch the juice
Before you start juicing, position a glass or container under the spout of the juicer attachment. This will ensure that the freshly extracted juice flows directly into the container without any mess or spills.
4. Turn on the mixer and select the appropriate speed setting
Now, it’s time to turn on your Kitchenaid mixer. Plug it into a power source and switch it on. Select the suitable speed setting on the mixer based on the type of fruits or vegetables you are juicing. Refer to the instruction manual or follow the recommended speed settings provided by the manufacturer.
5. Slowly feed the fruits or vegetables into the juicer attachment
With the mixer running, slowly feed the prepared fruits or vegetables into the feed tube of the juicer attachment. Use the pusher tool provided with the attachment to guide the produce down into the juicer. Apply gentle pressure to ensure efficient juicing without overloading the attachment.
Continue feeding the fruits or vegetables until you have extracted all the juice. Once you are done juicing, turn off the mixer and unplug it from the power source. Remove the juicer attachment from the mixer and clean it according to the manufacturer’s instructions.
| Information |
|---|
| Connecting a juicer attachment to a Kitchenaid mixer |
| Properly preparing fruits or vegetables for juicing |
| Using the suitable speed setting on the mixer |
| Feeding the produce slowly into the juicer attachment |
[su_note note_color=”#ea2e0c” text_color=”#ffffff” radius=”8″]Extra Tips: Get the most out of your juicer attachment by properly preparing your produce, using the correct speed setting, and feeding the fruits or vegetables slowly for optimal juicing.[/su_note]
Cleaning and Maintenance
1. Turn off and unplug the mixer before cleaning
Prior to cleaning your Kitchenaid mixer and its juicer attachment, it is important to make sure that the mixer is turned off and unplugged. This step ensures your safety and prevents any accidental injuries Whilst handling the appliance.
2. Disassemble the juicer attachment components
In order to properly clean the juicer attachment, you need to take apart its components. Start by removing the juicer body from the mixer’s power hub. Then, detach the feed tube, pulp container, and any other removable parts from the juicer. This disassembly enables thorough cleaning of every part.
3. Wash the components with warm, soapy water
Once the components are disassembled, wash them with warm, soapy water. Use a mild dishwashing detergent to eliminate any residue or pulp from the juicer attachment. Gently scrub each component, paying attention to hard-to-reach areas. Rinse them thoroughly to remove any soap residue.
4. Dry the components thoroughly before storing
After washing, it is crucial to dry each component completely before storing them. Use a clean towel or allow them to air dry fully. Ensuring they are completely dry prevents the growth of mold or bacteria and extends the lifespan of your juicer attachment.
5. Regularly check for any signs of damage or wear
As part of the maintenance routine, regularly inspect your juicer attachment for any signs of damage or wear. Look for cracks, loose parts, or indications of deterioration. If you notice any issues, contact the manufacturer for guidance on repair or replacement options.
Conclusion
Connecting a juicer to a Kitchenaid mixer is a simple and efficient way to make fresh juice. By obeying the step-by-step instructions provided in this article, users can easily attach a juicer attachment to their Kitchenaid mixer and start enjoying the benefits of homemade juice.
With the right technique, it is possible to create delicious and nutritious juices using the power and versatility of a Kitchenaid mixer. So, go ahead and unleash your culinary creativity by Examining the world of juicing with your Kitchenaid mixer.
FAQ About Connecting a Juicer to a Kitchenaid Mixer
FAQ 1: Can I use the juicer attachment with any Kitchenaid mixer model?
Yes, the juicer attachment is designed to be compatible with all Kitchenaid mixer models. Whether you have a classic, artisan, or professional series Kitchenaid mixer, you can easily connect and use the juicer attachment.
FAQ 2: Can I juice citrus fruits with the juicer attachment?
Absolutely! The juicer attachment is specifically designed to extract juice from citrus fruits, such as oranges, lemons, and grapefruits. Simply cut the citrus fruit in half, place it on the juicer attachment, and let it do the work for you.
FAQ 3: How do I clean the juicer attachment?
Cleaning the juicer attachment is a breeze. First, detach it from the Kitchenaid mixer. Then, disassemble the juicer components and rinse them under warm water. Use a soft brush or sponge to remove any pulp or residue. Make sure to dry all parts thoroughly before storing them.
FAQ 4: Can I use the juicer attachment for other purposes besides juicing?
At the same time the juicer attachment is primarily designed for juicing, it can also be used to make other delicious recipes. For example, you can use it to extract fresh juice for cocktails, create homemade fruit purees, or even make sorbets and frozen treats.
FAQ 5: Are replacement parts available for the juicer attachment?
Yes, Kitchenaid offers replacement parts for the juicer attachment. If any part of the juicer attachment gets damaged or worn out, you can easily find and purchase the specific replacement part you need from authorized Kitchenaid retailers or their official website.
Read Similar Post:
1. Omega Juicer Price: How Much Does an Omega Juicer Cost?
2. Decoding the Breville Juice Fountain: Which Type of Juicer Does it Belong to?