How Do You Disassemble A Juicer?
[su_note note_color=”#fb8e00″ text_color=”#000000″ radius=”12″]
Looking to clean or maintain your juicer? Wondering how to disassemble it without any hassle? Well, you’ve come to the right place! In this guide, we will provide you with a step-by-step tutorial on how to disassemble a juicer. Whether you’re a juicing enthusiast or just someone who wants to keep their juicer in top-notch condition, Discerning the disassembly process is essential.
By adhering to our simple instructions, you’ll be able to take apart your juicer with ease, ensuring thorough cleaning and optimal performance. So, let’s get started and learn how to disassemble a juicer like a pro!
[su_box title=”
[/su_box]
Gathering the Essential Tools
List of Tools Needed for Dismantling the Juicer
In the realm of taking apart a juicer, having the proper tools is crucial for a smooth and efficient process. Here is a list of tools you will require:
- Screwdriver: A screwdriver is a fundamental tool that will assist you in removing any screws or fasteners holding the juicer parts together.
- Plastic Spudger: A plastic spudger is a useful tool for gently separating delicate parts without causing any damage.
- Brush: A small brush with soft bristles is perfect for cleaning hard-to-reach areas and eliminating any debris or residue.
- Cleaning Solution: It is vital to use a mild cleaning solution or detergent specifically formulated for juicers to ensure proper cleaning and maintenance.
- Soft Cloth: A soft cloth or microfiber cloth is valuable for wiping down and drying the juicer parts after cleaning.
Significance of Using the Appropriate Tools for the Task
Using the correct tools for dismantling your juicer is crucial for several reasons:
- Efficiency: The right tools will allow you to disassemble the juicer quickly and efficiently, saving you time and effort.
- Safety: Utilizing improper tools or exerting excessive force can result in damage to the juicer parts or even injury. The appropriate tools ensure a safe disassembly process.
- Extended Lifespan: When you use the suitable tools for dismantling your juicer, you minimize the risk of causing unnecessary wear and tear on the components. This, in turn, helps prolong the lifespan of your juicer.
By gathering the necessary tools and utilizing them correctly, you can ensure a trouble-free and effective disassembly process for your juicer. Remember to consult your juicer’s manual for specific instructions and always exercise caution when handling sharp or delicate parts.
[su_highlight background=”#f6b40f”]Expert Tips: Gather the right tools for dismantling your juicer to save time, ensure safety, and prolong its lifespan.[/su_highlight]
How to Take Apart a Juicer: A Step-by-Step Guide
Turn off and Unplug the Juicer
Prior to beginning the disassembly process, it is crucial to prioritize safety for both yourself and the juicer. Follow these steps:
- Step 1: Turn off the juicer: Locate the power button or switch on your juicer and turn it off. This will prevent any accidents or injuries during the disassembly.
- Step 2: Unplug the juicer: Reach for the power cord connected to your juicer and disconnect it from the power source. This step is essential to avoid any electric shock or damage At the same time working on the disassembly.
Safety Precautions before Starting the Disassembly Process
Taking apart a juicer requires careful attention to safety to prevent accidents and ensure a smooth disassembly process. Take note of the following precautions:
- Safety Precaution 1: Wear protective gloves: Before handling any parts of the juicer, put on a pair of sturdy gloves to protect your hands from sharp edges or potential injuries.
- Safety Precaution 2: Read the user manual: Familiarize yourself with the manufacturer’s instructions and guidelines provided in the user manual. This will give you a better understanding of the specific disassembly steps for your juicer model.
- Safety Precaution 3: Work in a well-lit area: Ensure you have sufficient lighting in your workspace to clearly see the juicer parts and avoid any accidental mishaps.
Importance of Disconnecting the Juicer from the Power Source
Prior to taking apart your juicer, it is vital to disconnect it from the power source. Here’s why:
By unplugging the juicer, you eliminate the risk of electrical shock or damage to the juicer’s internal components. It also prevents the juicer from accidentally turning on At the same time you are working on it, ensuring your safety throughout the disassembly process.
| Benefits of Disconnecting the Juicer from the Power Source: |
|---|
| – Prevents electrical accidents and injuries |
| – Protects the juicer’s internal components |
| – Ensures a safe and hassle-free disassembly process |
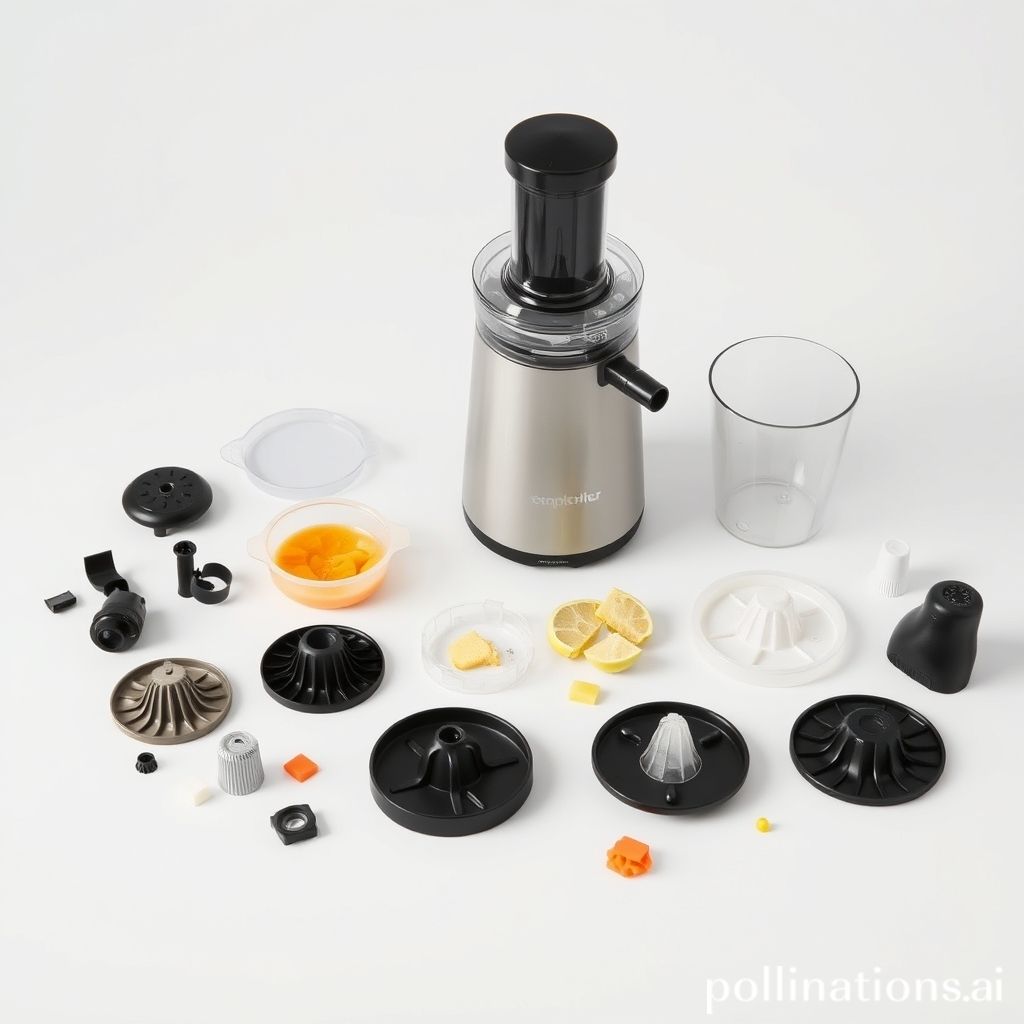
Disassemble the juicer components
In regard to taking apart a juicer, it’s important to know the correct steps for removing each component. Following a systematic approach will ensure that you can effectively clean and maintain your juicer. Here is a step-by-step guide on how to disassemble the juicer components:
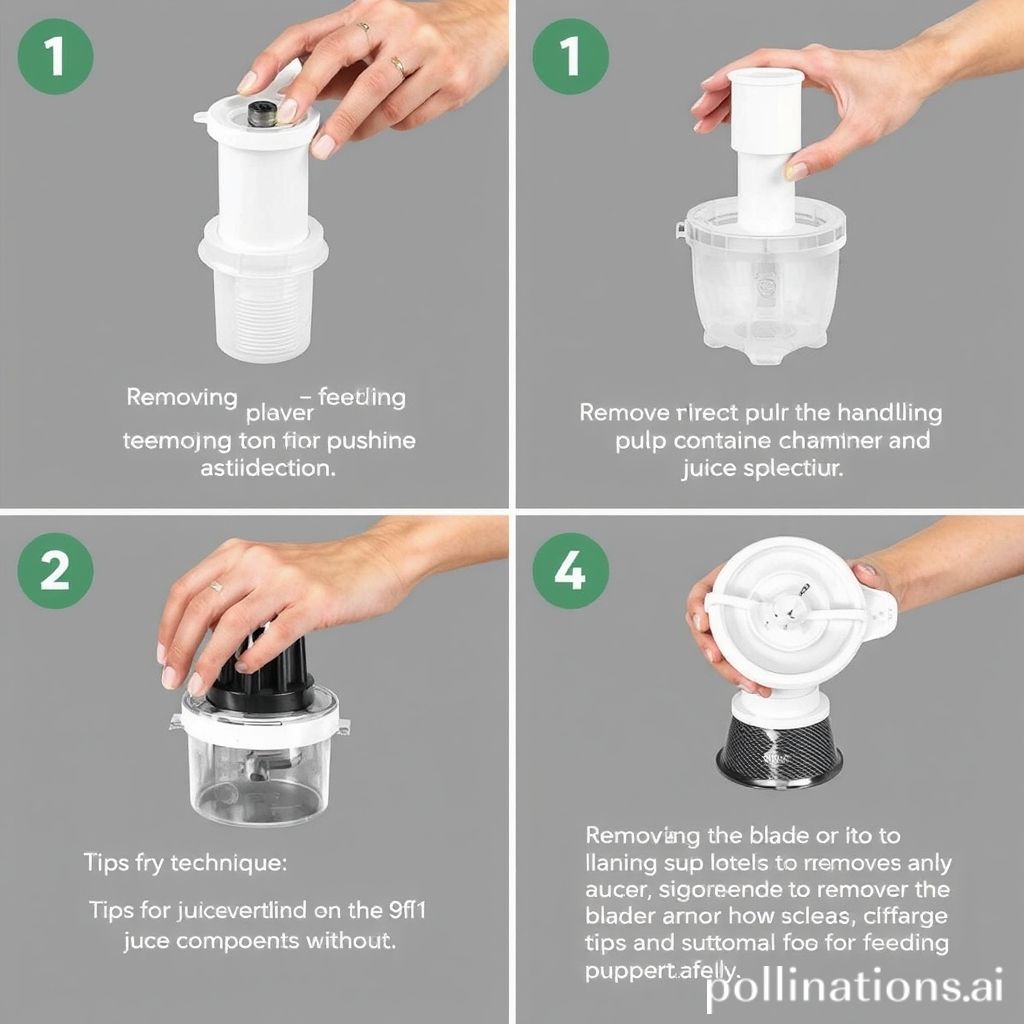
1. Remove the feeding tube and pusher
- Proper technique for removing the feeding tube and pusher: To remove the feeding tube, gently twist it counterclockwise and lift it off the juicer. The pusher can be removed by pulling it out from the top of the feeding tube.
- Importance of removing these components first: Removing the feeding tube and pusher first allows easy access to other parts of the juicer for cleaning and maintenance.
2. Detach the pulp container and juice collector
- Step-by-step process of removing the pulp container and juice collector: Lift the pulp container upwards and away from the juicer base. The juice collector can be detached by sliding it out from its position.
- Tips for handling these components without spilling: It is recommended to empty the pulp container and juice collector before removing them to prevent any spills. Hold them firmly to avoid accidental spills In the course of detaching.
3. Take off the juicing chamber and auger
- Detailed instructions on removing the juicing chamber and auger: Unscrew the juicing chamber by turning it counterclockwise. Lift it off the juicer base along with the auger.
- Precautions to prevent any damage to the juicer parts: Handle the juicing chamber and auger with care to avoid any accidental drops or impacts that may cause damage to these essential components.
4. Separate the blade and strainer
- How to remove the blade and strainer safely: Carefully unscrew the blade assembly from the juicing chamber. Remove the strainer by gently lifting it out from the juicer.
- Cleaning tips for these components: Use a soft brush or sponge to clean the blade and strainer. Ensure thorough cleaning to remove any pulp or residue for better juicer performance.
Clean the Juicer Components
1. Rinse the Removable Parts with Water
It is important to rinse the removable parts of your juicer with water to maintain cleanliness. This will remove any residue or leftover pulp, keeping your juicer in optimal condition.
Why Rinsing is Important to Remove Residue
Rinsing the parts helps eliminate any fruit or vegetable particles that could accumulate and affect the taste and quality of your juices. It also removes bacteria or germs, ensuring a hygienic juicing experience.
Tips for Thorough Cleaning
- Use a gentle stream of water to rinse all surfaces of the parts.
- Pay special attention to crevices or hard-to-reach spots, and use a brush or sponge if needed.
- Inspect the parts after rinsing to ensure there is no remaining debris.
2. Use a Brush or Sponge for Tough Stains
If you encounter stubborn stains on your juicer components, use a brush or sponge to effectively remove them. These cleaning tools provide extra scrubbing power to keep your juicer spotless.
Techniques for Removing Tough Stains
Apply a small amount of dish soap to the brush or sponge and gently scrub the stained areas. Focus on spots that require extra attention, such as discoloration from berries or beets. Rinse thoroughly with water to remove any soap residue.
Recommended Cleaning Tools
- Soft-bristle brush: Ideal for gentle scrubbing without damaging the juicer components.
- Sponge: Works well for removing stains on larger surfaces.
- Toothbrush: Useful for reaching narrow or hard-to-reach areas.
3. Dry the Parts Before Reassembling
After cleaning the juicer components, make sure they are completely dry before reassembling the juicer. Moisture can lead to mold growth or damage the juicer’s functionality, so proper drying is essential.
Importance of Ensuring Dry Parts
Thoroughly drying the parts prevents moisture accumulation, which can cause bacterial growth or affect the juicer’s performance. It also helps maintain the juicer’s longevity by preventing rust or corrosion.
Methods for Effective Drying
- Place the parts on a clean towel and allow them to air dry naturally.
- Use a soft, absorbent cloth to gently dry the components, ensuring all moisture is removed.
- Avoid using heat sources like a hairdryer, as excessive heat can damage the parts.
By obeying these steps, you can keep your juicer clean, hygienic, and in optimal condition for making delicious and nutritious juices.
| Information |
|---|
| Regular cleaning and maintenance of your juicer components is crucial for optimal performance and longevity. |
| Proper cleaning prevents residue buildup and ensures a hygienic juicing experience. |
| Using a brush or sponge can effectively remove tough stains on the juicer components. |
| Drying the juicer parts thoroughly before reassembling is crucial to avoid moisture-related issues. |
[su_note note_color=”#ea2e0c” text_color=”#ffffff” radius=”8″]Extra Tips: Maintain cleanliness by rinsing all removable parts thoroughly, use a brush or sponge for tough stains, and ensure complete drying before reassembling.[/su_note]
Reassembling a Juicer: Step-by-Step Guide
1. Gather all the components
Prior to starting the reassembly process, make sure you have all the parts of your juicer. Check if any components require cleaning or replacement.
2. Align the main body and motor base
Position the motor base on a stable surface and align the main body of the juicer on top of it. Confirm that the alignment marks or arrows on both parts match.
3. Attach the juicing chamber
Take the juicing chamber and align it with the main body. Twist or slide it into place until it securely fits. Refer to the user manual for any specific instructions.
4. Insert the auger or blade
Gently insert the auger or blade into the juicing chamber. Ensure it is properly seated and aligned with the motor’s rotating shaft.
5. Secure the pulp container and juice collector
Attach the pulp container and juice collector to their designated positions. These components may have specific slots or tabs that fit into the main body. Make sure they are firmly secured.
6. Lock the lid into place
Take the lid of the juicer and align it with the juicing chamber. Press it down firmly or twist it clockwise to lock it into place. Check if any additional locking mechanisms are present.
7. Test the reassembled juicer
Prior to using the juicer, perform a quick test to ensure all components are properly assembled. Connect the juicer to a power source, turn it on, and observe if everything is functioning smoothly.
Remember to refer to your juicer’s user manual for any specific instructions or variations in the reassembly process. Following these steps will assist you in correctly reassembling your juicer, ensuring optimal performance and longevity.
Conclusion
Properly disassembling a juicer for cleaning and maintenance is crucial to ensure its effective performance and longevity. By maintaining the key steps of disassembly and reassembly, you can keep your juicer in optimal condition.
Regular cleaning aids in removing residue and preventing the buildup of bacteria, ensuring the safety of your juice. Remember to consult the manufacturer’s instructions for specific guidance on your juicer model. With a well-maintained juicer, you can continue enjoying fresh and nutritious juices for a long time.
Faq about Disassembling a Juicer
FAQ 1: How often should I disassemble my juicer for cleaning?
It is recommended to disassemble your juicer for cleaning after each use.
FAQ 2: Can I put the juicer parts in the dishwasher?
Most juicer parts are dishwasher-safe. That being said, it is best to refer to the manufacturer’s instructions for specific information on which parts are dishwasher-safe.
FAQ 3: What should I do if I can’t remove a certain juicer component?
If you are having trouble removing a specific juicer component, try running the juicer under warm water to loosen any debris. If the component still does not come off, refer to the juicer’s user manual or contact the manufacturer for further assistance.
FAQ 4: Is there any specific cleaning solution I should use?
It is recommended to use mild dish soap and warm water to clean your juicer components. Avoid using harsh chemicals or abrasive cleaners, as they may damage the juicer’s parts.
FAQ 5: How long does it take to clean and reassemble a juicer?
The time it takes to clean and reassemble a juicer can vary depending on the model and the complexity of its design. On average, it may take around 10-15 minutes to thoroughly clean and reassemble a juicer.
By heeding these cleaning instructions and properly maintaining your juicer, you can ensure its longevity and continue enjoying fresh and healthy juices. Remember to always consult the user manual or reach out to the manufacturer if you have any specific questions or concerns about disassembling and cleaning your juicer.
Read Similar Post:
1. Omega Juicer J8008C vs. J8226: Which Model is Right for Your Juicing Needs?
2. Value Comparison: Low-Cost vs High-Cost Masticating Juicers