How Long To Pressure Can Grape Juice?
[su_note note_color=”#fb8e00″ text_color=”#000000″ radius=”12″]
Haven’t we all heard of the wonders of grape juice? We’ve all been told about its incredible health benefits and how it can be a delicious addition to our daily routine. But if you haven’t tried pressure canning grape juice yet, then it’s time to give it a shot.
Not only does pressure canning preserve the flavors and nutrients of the grapes, but it also allows you to enjoy the taste of freshly squeezed grape juice all year round. Whether you’re looking for a refreshing drink or a tasty ingredient for your recipes, pressure canned grape juice is the way to go. So, how long does it take to pressure can grape juice? Let’s find out!
[su_box title=”
[/su_box]

Advantages of Pressure Canning Grape Juice
Pressure canning grape juice provides several benefits, including preserving its natural flavor, nutrients, and extending its shelf life. This canning method is a safe and effective way to prevent spoilage, allowing you to enjoy fresh grape juice for longer periods.
1. Retaining the Natural Flavor and Nutrients of Grape Juice
When grape juice undergoes pressure canning, it maintains its natural flavor and nutritional value. This process involves sealing the juice in airtight containers, preventing the loss of flavor and essential nutrients. As a result, every sip of the grape juice is bursting with the refreshing taste of freshly picked grapes.
2. Extending the Shelf Life of Grape Juice
Pressure canning significantly prolongs the shelf life of grape juice. By subjecting the juice to high pressure and temperature, harmful bacteria and microorganisms are eliminated, preventing spoilage. This preservation method allows you to store the grape juice for months or even years without compromising its quality.
3. Ensuring Safety and Preventing Spoilage
Pressure canning grape juice is a reliable method to ensure its safety and prevent spoilage. The high pressure and temperature used during canning destroy any harmful bacteria or enzymes that could cause the juice to spoil. This eliminates the risk of consuming contaminated grape juice and ensures that each bottle remains fresh and safe to consume.
[su_highlight background=”#f6b40f”]Expert Tips: Preserve the flavor, nutrients, and shelf life of grape juice with pressure canning. Enjoy fresh juice for longer with this safe and effective method.[/su_highlight]
Gathering the Essential Equipment for Pressure Canning
Touching on pressure canning grape juice, having the right equipment is crucial for a successful and safe process. In this section, we will arrange the necessary tools and ingredients you will need to gather before you begin.
1. Pressure Canner
A pressure canner is a specialized pot with a tight-fitting lid and a pressure gauge or weight. It is designed to create a high-pressure environment that allows for safe canning of low-acid foods like grape juice. Make sure to choose a pressure canner that is suitable for the size and quantity of jars you will be using.
2. Jars and Lids
Invest in glass canning jars specifically designed for preserving foods. Mason jars are a popular choice as they come in various sizes and are readily available. Ensure that the jars are in good condition without any cracks or chips. Additionally, you will need new lids and bands for each jar to ensure a proper seal.
3. Other Necessary Tools and Ingredients
Aside from the pressure canner and jars, there are a few other tools and ingredients you will need:
- Tongs: These are used to handle hot jars and lids during the canning process.
- Canning funnel: A funnel with a wide mouth that fits into the jars, making it easier to pour the grape juice without any spills.
- Ladle: Use a ladle to transfer the grape juice into the jars after it has been heated.
- Grape juice: Ensure you have enough fresh grape juice on hand for the canning process. You can either make your own juice from freshly picked grapes or purchase it from a trusted source.
- Sugar (optional): Depending on your taste preferences, you may choose to add sugar to the grape juice before canning. This step is optional and can be adjusted according to your desired sweetness.
By gathering all the necessary equipment and ingredients above, you will be well-prepared to begin the pressure canning process for grape juice. Remember to follow proper canning procedures and guidelines to ensure the safety and quality of your preserved juice.
| Equipment | Quantity |
|---|---|
| Pressure Canner | 1 |
| Glass Jars | Depends on the desired quantity |
| Jar Lids | Depends on the desired quantity |
| Tongs | 1 pair |
| Canning Funnel | 1 |
| Ladle | 1 |
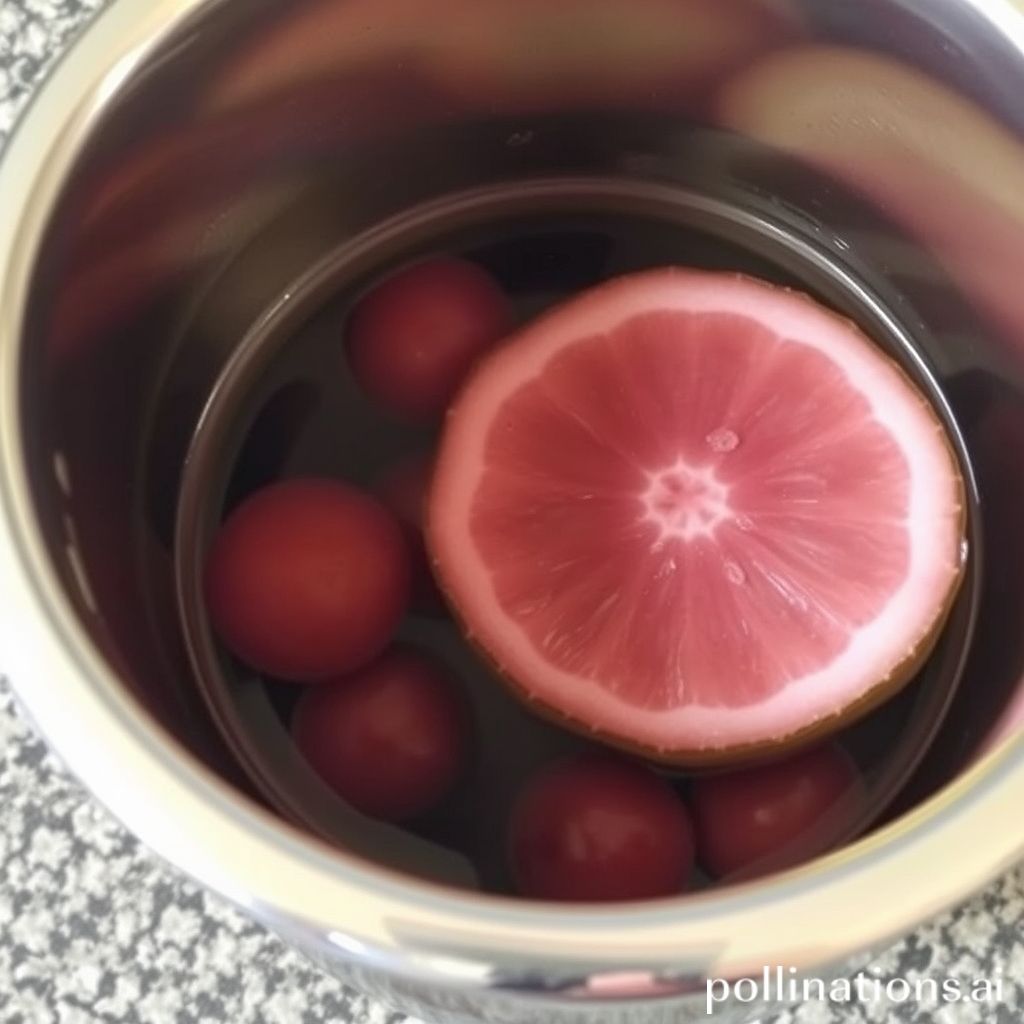
Grape Juice Preparation for Pressure Canning
- Selecting and Washing the Grapes
- Extracting the Juice
- Adjusting the Sugar Levels (Optional)
Relating to pressure canning grape juice, it is important to follow the correct steps to ensure safety and preserve the delicious flavors of the grapes. In this section, we will guide you through the process of preparing grape juice for pressure canning.
1. Selecting and Washing the Grapes: Start by carefully choosing ripe and high-quality grapes. Look for grapes that are free from any signs of mold or damage. Once you have selected the grapes, give them a thorough wash to remove any dirt or debris.
2. Extracting the Juice: After washing the grapes, it’s time to extract the juice. You can do this by using a juicer or by manually crushing the grapes and straining the juice through a fine-mesh sieve. Make sure to remove any seeds or pulp to obtain a smooth and pure grape juice.
3. Adjusting the Sugar Levels (Optional): Depending on your preference, you may want to adjust the sugar levels in your grape juice. Some people prefer a sweeter juice, In the course of others enjoy a more natural and tangy flavor. If desired, add sugar to the juice and stir until it completely dissolves.
The Pressure Canning Process
1. Filling and Sealing the Jars
– Begin by sterilizing the jars and lids to ensure cleanliness.
– Carefully fill the jars with grape juice, leaving the appropriate amount of space at the top.
– Wipe the edges of the jars to remove any spills or residue.
– Place the lids on the jars and securely tighten the bands.
2. Adjusting the Pressure and Processing Time
– Follow the instructions provided by the manufacturer to set up and adjust the pressure canner.
– Consult a reliable source to determine the recommended processing time based on your altitude and jar size.
– Once the canner has reached the desired pressure, start the timer and maintain the pressure throughout the process.
– Adjust the heat as needed to keep the pressure steady.
3. Cooling and Testing the Seals
– After the processing time is complete, turn off the heat and allow the canner to cool naturally.
– Do not remove the jars from the canner until the pressure has fully decreased.
– Once the canner is depressurized, carefully take out the jars and place them on a cooling rack or towel.
– Leave the jars undisturbed for 12-24 hours to ensure proper sealing.
– Test the seals by pressing down on the center of each lid. If it does not move or make a popping sound, the jar is properly sealed.
| Information |
|---|
| Pressure canning is a safe method for preserving grape juice |
| Follow recommended processing times and adjust for altitude |
| Proper sealing is essential for long-term storage |
[su_note note_color=”#ea2e0c” text_color=”#ffffff” radius=”8″]Extra Tips: Ensure perfect seals and long-term storage with these steps for pressure canning grape juice![/su_note]
Preserving and Enjoying Pressure-Canned Grape Juice
As for keeping the delicious taste and health benefits of grape juice, pressure canning is a reliable method. To make sure your pressure-canned grape juice stays fresh and high quality, proper storage is essential.
1. Proper Storage
To maintain the freshness and flavor of pressure-canned grape juice, store it in a cool, dark place with a consistent temperature. An ideal location would be a pantry or cellar. Make sure the jars are tightly sealed and free from any damage or leaks.
2. Shelf Life and Quality
Pressure-canned grape juice can last up to one year when stored correctly. Conversely, it’s important to note that the quality may start to decline after several months. For the best taste and nutritional value, consume the juice within six months of canning.
Before consuming the juice, inspect the jars. If you notice any signs of spoilage, such as mold, strange odors, or unusual color changes, discard the contents immediately.
3. Enjoying Pressure-Canned Grape Juice
When you’re ready to enjoy the refreshing taste of pressure-canned grape juice, simply open a jar and pour it into a glass. You can drink it as is or mix it with sparkling water for a fizzy treat. The juice can also be used as a base for delicious cocktails or as an ingredient in recipes like sorbets or fruit jellies.
Remember, pressure-canned grape juice offers a burst of flavor all year round, making it a versatile addition to your pantry. With proper storage and timely consumption, you can savor the freshness of this homemade delight for months to come.
Conclusion
Pressure canning grape juice is a simple and effective method for preserving its freshness and flavor. By heeding the recommended processing time of 10 minutes for pints and 15 minutes for quarts at the appropriate pressure level, you can safely store your grape juice for an extended period.
This preservation technique ensures that the juice retains its nutritional value and taste, allowing you to enjoy the refreshing goodness of grape juice throughout the year. So, go ahead and pressure can your grape juice to savor its natural sweetness whenever you desire, knowing it’s conveniently and safely preserved.
Faq about How Long To Pressure Can Grape Juice?
FAQ 1: Can I use any type of grape for pressure canning?
Yes, you can use any type of grape for pressure canning. It is important to choose grapes that are ripe and free from any signs of spoilage.
FAQ 2: How long does it take to pressure can grape juice?
The processing time for pressure canning grape juice is typically around 10 minutes. Nonetheless, it is important to follow a reliable recipe and consult the instructions provided with your pressure canner for specific guidelines.
FAQ 3: Can I add other fruits or flavors to the grape juice before canning?
Yes, you can add other fruits or flavors to the grape juice before canning. Nonetheless, it is important to ensure that the additional ingredients are safe for canning and do not affect the overall pH level of the juice. It is recommended to follow tested recipes for canning grape juice with added ingredients.
FAQ 4: What should I do if a jar doesn’t seal properly?
If a jar doesn’t seal properly after pressure canning, you should allow it to cool completely and then check the seal. If the jar has not sealed, you can either reprocess it using a new lid and following the proper canning procedures, or refrigerate the jar and consume the grape juice within a few days.
FAQ 5: Can pressure-canned grape juice be used in recipes other than just drinking it?
Yes, pressure-canned grape juice can be used in recipes other than just drinking it. It can be used as a base for jelly or syrup, or as an ingredient in various recipes such as marinades, sauces, and desserts. Be sure to follow the specific recipe instructions when using pressure-canned grape juice in cooking or baking.
Read Similar Post:
1. Juicy Secrets: The Perfect Recipe for Making Grape Juice!
2. Juicy Grape Delight: A Blender Recipe for Delicious Homemade Grape Juice
