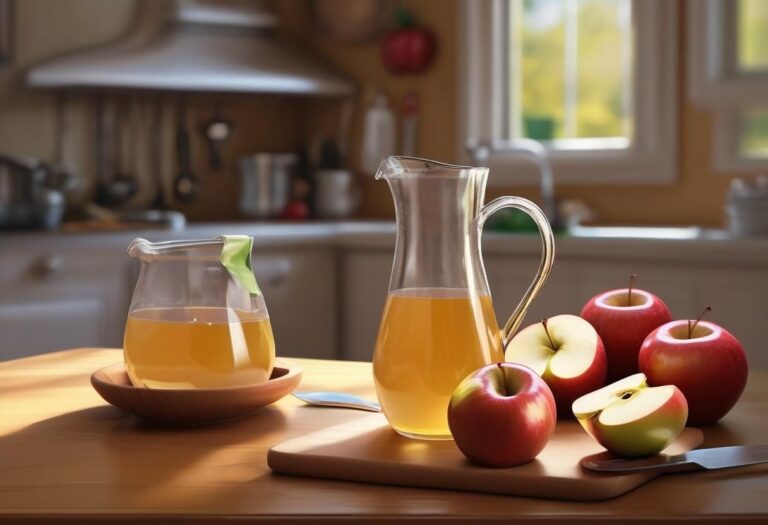
How to Make Apple Juice Without a Blender: Easy DIY Method
You want apple juice. The fridge has apples. But your blender? It’s somewhere in a cabinet, dirty from yesterday’s smoothie, or maybe it just gave up. You don’t need it. Making apple juice without a blender is straightforward, cheap, and produces a cleaner juice than you might expect. I’ve tested these methods in my own kitchen, and they work. By the end of this article you’ll know exactly how to get fresh juice using tools you already own — a grater, a pot, or even just a clean kitchen towel.
If you do eventually want a more convenient option, the douviva Personal Size Blender (500W) handles frozen fruit and makes single-serving juices in seconds. It’s a solid choice if you’re tired of hauling out a full-size machine. But for today, we’re going old school.

douviva
Personal Size Blender, 500W Stand Blender for…
POWERFUL POWER: 500W motor allows you to easily mix frozen fruits, milkshakes, juices and baby food to meet a wide range of needs
See on AmazonThree Ways to Get Apple Juice Without a Blender
Every method here relies on breaking down the apple flesh enough to release the liquid. The core principle is the same: crush or grate the apple, then separate the juice from the pulp. The difference is how much elbow grease you want to use and what kind of juice you prefer — clear vs. cloudy, cold vs. warm.
Method 1: The Box Grater and Strainer
This is the fastest manual method for a single glass. You’ll need a box grater, a fine-mesh strainer, a bowl, and about three medium apples for one cup of juice.
Start by washing the apples. You can leave the peel on — it contains flavor and pectin, but it also adds a slight bitterness. I usually peel them for a cleaner taste. Core the apples, then grate them on the coarse side of the grater. Work over a bowl to catch all the juice and shreds.
Once all apples are grated, dump the mixture into the strainer set over a clean bowl. Use the back of a spoon to press the pulp. Push firmly, scraping the underside of the strainer to collect the liquid. Stop when the pulp feels dry — you’ll get about 60-70% of the apple’s weight as juice. One medium apple yields roughly 3-4 ounces.
You’ll end up with a cloudy, full-flavored juice that separates quickly. Drink it right away. If you want a clearer juice, line the strainer with a thin kitchen towel (a clean handkerchief works) before pressing.
This method takes about 15 minutes for one serving. It’s messy — apple bits fly everywhere — but it requires zero electricity.
Method 2: The Saucepan Simmer
This technique is closer to making apple cider than fresh juice. It gives you a cooked, mulled-style drink that lasts longer in the fridge (up to a week). You’ll need a large pot, a potato masher, and a colander lined with cheesecloth.
Chop 6-8 apples into chunks. No need to core or peel — the heat will soften everything. Put the chunks in a pot and add just enough water to cover the bottom (about 1/2 cup). Cover and simmer on low heat for 20-25 minutes, until the apples are soft and falling apart. Stir occasionally.
Mash the cooked apples with a potato masher right in the pot. Then pour the mixture into a colander lined with cheesecloth over a big bowl. Let it drain naturally for 10 minutes. Gather the corners of the cheesecloth and twist to squeeze out the remaining liquid. Be careful — it’s hot.
The juice will be amber-colored and much sweeter than raw juice because heat caramelizes the sugars. It also lacks the fresh apple aroma. I like this method for making a base for hot mulled apple cider with cinnamon sticks and cloves. The yield is higher — about 2/3 of the water-weighted apple mass becomes juice.
Time investment: 30 minutes active, plus waiting time. The cleanup is easier than grating because everything gets cooked, but you do have to deal with hot pulp.
Method 3: The Cheesecloth Press
For larger batches (1-2 liters at once), this is your best bet. You’ll need a rolling pin or a heavy bottle, a clean pillowcase or double-layer cheesecloth, and a deep bowl.
Peel, core, and chop the apples into 1-inch cubes. Put the cubes in a heavy-duty ziplock bag or wrap them in a clean kitchen towel. Smash them with the rolling pin until every piece is flattened and mushy. You want a rough paste, not apple sauce.
Transfer the crushed apple mass to the center of the cheesecloth. Gather the edges and twist tightly to form a bag. Hold the bag over a bowl and squeeze hard, working from the top downward. The juice will stream out. Keep squeezing until only dry pulp remains. This takes about 5 minutes of steady pressure.
You can also place the bag between two cutting boards and press with your body weight — like a cider press. For a 1-liter batch, you’ll need about 10-12 apples. Total active time: 20 minutes. The juice is clear and crisp, very close to commercial unfiltered apple juice.
One drawback: your hands will ache after squeezing. And the pulp cleanup requires rinsing the cloth immediately or it stains.
| Method | Yield per 3 apples | Active Time | Clarity | Best For |
|---|---|---|---|---|
| Box Grater & Strainer | ~9 oz | 15 min | Cloudy | Single serving, quick fix |
| Saucepan Simmer | ~12 oz | 30 min | Amber, clear | Hot cider base, longer storage |
| Cheesecloth Press | ~10 oz | 20 min | Clear | Batch juice, clearest result |
Choosing the Right Apples
The apple variety matters more than the method. Sweet apples like Fuji, Gala, or Honeycrisp produce a juice that needs no added sugar. Tart apples like Granny Smith give a sharp, refreshing drink — but you’ll want to mix them half-and-half with a sweet apple to balance the acidity.
For the best flavor, use a blend. Three Fuji plus one Granny Smith gives a complex juice with a nice tang. Don’t use overripe or mealy apples — they produce a weak, watery juice that goes brown fast.
Store your homemade juice in a glass jar with a tight lid. Fresh raw juice lasts 2-3 days in the fridge. The simmered juice keeps up to a week. Freeze any extra in ice cube trays for later.
If you’re planning to make juice regularly and want a more consistent, faster process, consider a dedicated juice extractor — it cuts out the manual work and gives a similar result to the cheesecloth press. For pure convenience, a personal blender like the douviva can pulverize apples into a smooth puree, though you’ll still need to strain it. That’s faster than grating by hand.
Frequently Asked Questions
Do I need to peel the apples?
Not necessarily. The peel contains color, flavor, and a small amount of pectin. For the grater method, leaving the skin on adds tiny specks and a slight bitter note. I recommend peeling for the grater and cheesecloth methods. For the saucepan method, keep the skin on — it softens and gets strained out anyway.
Can I use a food processor instead of a grater?
Yes, but it’s not much faster. A food processor will chop the apples into fine bits, but you still have to squeeze the pulp through a strainer. The result is similar to the grated method. Watch out: if you over-process, you’ll create an apple sauce puree that’s harder to strain. Pulse in short bursts until you get pea-sized pieces.
How long does homemade apple juice last?
Raw juice (from the grater or press) stays fresh 2-3 days in the refrigerator. It will brown quickly from oxidation — that’s fine, it’s still safe. The simmered juice lasts 5-7 days because the heat kills microbes. For longer storage, freeze it. Don’t can it at home unless you use a pressure canner with proper acidity control.
What’s the easiest method for someone with weak hands?
The saucepan simmer. You only have to chop apples and mash them after cooking — no grating or hand-squeezing required. Let the cheesecloth drain by gravity, then use a second pair of hands to twist it. If grating, try a rotary hand grater or a food mill instead of a box grater.
Can I make apple juice without any equipment — just my hands?
Technically yes. You can crush apple chunks inside a sealed freezer bag with your fists. Then cut a tiny corner and squeeze the juice out into a cup. It’s messy and low-yield, but it works in a pinch. Expect about half the juice compared to using a grater. Use this as a camping trick, not a daily method.
What You Actually Need to Remember
- For a single glass, use a box grater and strainer — 15 minutes, no power, cloudy juice.
- For a larger batch or longer storage, simmer the apples on the stove.
- Always wash apples well, even if you peel them. Dirt and wax get mashed into the juice.
- Sweet apples like Fuji or Gala make the best solo juice. Mix tart and sweet for complexity.
- Fresh raw juice separates quickly. Shake before drinking.
- Clean all tools immediately after juicing — dried apple pulp turns into cement.
- If you decide you want a blender after all, look for one with at least 500 watts and BPA-free cups, like the douviva personal blender. It won’t strain the juice for you, but it’ll handle the smashing part in 10 seconds.
Now go grab an apple from the bowl. You’ve got juice to make.