How Do You Remove Mesh From Juicer?
[su_note note_color=”#fb8e00″ text_color=”#000000″ radius=”12″]
Juicing has become a popular trend for health-conscious individuals looking to boost their nutrient intake. Albeit, there is one issue that seems to trouble many juicer owners: how to remove the mesh from their juicer.
This seemingly simple task can sometimes be a source of frustration, as people struggle to find the proper technique or method to safely and effectively remove the mesh. Whether you’re looking to clean or replace the mesh, Embracing the correct way to remove it is essential. In this article, we will explore various tips and tricks to help you successfully remove the mesh from your juicer, ensuring a smooth and hassle-free experience. So, if you’re ready to unlock the secrets of mesh removal, let’s dive in!
[su_box title=”
[/su_box]
The Significance of Removing the Mesh from the Juicer
The mesh in a juicer has a vital role in extracting juice from fruits and vegetables. Although, regular maintenance is necessary to ensure optimal performance. In this article, we will explore why it is important to remove the mesh and provide insights on the recommended frequency of cleaning.
1. Why is it important to remove the mesh?
Over time, the mesh in a juicer can accumulate pulp, fibers, and other debris, which can hinder its ability to extract juice effectively. If this buildup is not removed, it can result in clogging, reduced juice yield, and even damage to the juicer’s motor. By removing the mesh regularly, you can ensure thorough cleaning and prevent the accumulation of residue, thus allowing your juicer to operate at its best.
2. How often should you clean the mesh?
The frequency of mesh cleaning depends on your juicing habits and the type of produce you juice. Although, as a general guideline, it is recommended to remove and clean the mesh after each juicing session. This ensures prompt removal of any leftover pulp or fibers, preventing them from drying out and becoming harder to clean later on. Moreover, frequent cleaning helps maintain the hygiene and longevity of your juicer.
If you use your juicer less frequently, you can clean the mesh every 2-3 days, ensuring thorough rinsing after each use. It is important to note that certain fruits and vegetables with high fiber content, such as leafy greens or pineapple, may require more frequent mesh cleaning due to their tendency to leave residue.
[su_highlight background=”#f6b40f”]Expert Tips: Remove juicer mesh after each use to prevent clogging and damage. Clean daily for optimal performance and longevity.[/su_highlight]
Preparing the Juicer for Mesh Removal
Step 1: Unplugging the Juicer
Before attempting to remove the mesh from your juicer, it is important to unplug the appliance from the power source. This ensures your safety and prevents any accidental operation of the juicer during the removal process.
Step 2: Emptying the Juicer of Any Remaining Juice or Pulp
Prior to removing the mesh, it is crucial to empty the juicer of any remaining juice or pulp. This prevents any potential mess or contamination during the mesh removal process. Dispose of the juice and pulp properly according to your local regulations.
Step 3: Taking Apart Any Detachable Parts
In order to access the mesh for removal, you may need to disassemble certain detachable parts of your juicer. Consult the user manual or manufacturer’s instructions specific to your juicer model for guidance on which parts need to be removed.
Usually, you will need to remove the juicer cover, container, and any other components that may obstruct access to the mesh. Follow the instructions carefully to avoid damaging any parts.
Once you have completed these preparatory steps, you are now ready to proceed with the actual removal of the mesh from your juicer. Make sure to handle the juicer and its components with care to prevent any injuries or damage. Refer to the following sections of this article for detailed instructions on removing the mesh from your juicer.
| Preparation Steps: |
|---|
| 1. Unplugging the Juicer |
| 2. Emptying the Juicer of Any Remaining Juice or Pulp |
| 3. Taking Apart Any Detachable Parts |
Removing the mesh from the juicer
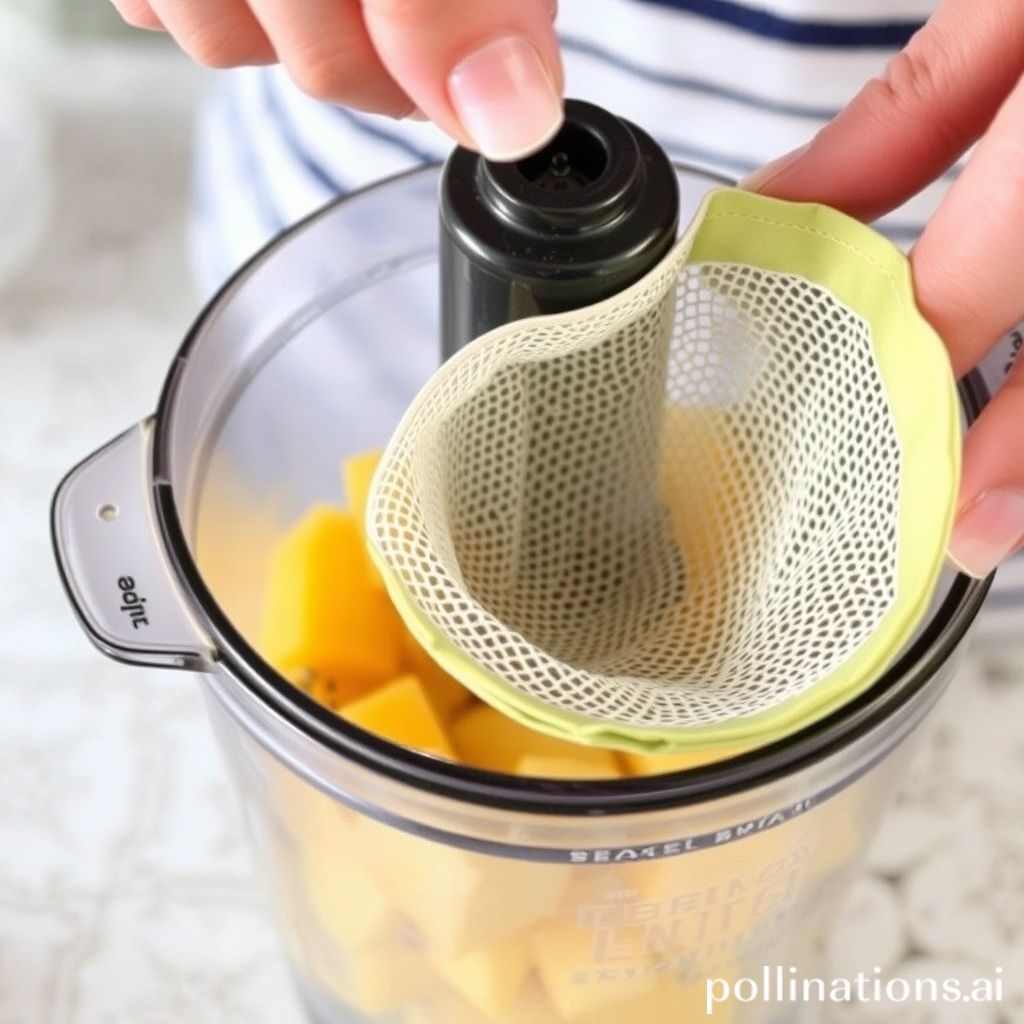
1. Locating the mesh in the juicer
Before attempting to remove the mesh from your juicer, it’s important to know where it is located. Typically, you can find the mesh in the juicer’s strainer or filter basket.
2. Apprehending the type of mesh used in your juicer
There are different types of mesh used in juicers, such as stainless steel or nylon. Knowing the type of mesh in your juicer will help you determine the right technique for removing it.
3. Following the manufacturer’s instructions for removing the mesh
Each juicer may have specific instructions for removing the mesh. It’s recommended to consult the user manual or contact the manufacturer to ensure you follow the correct procedure. This will help prevent any damage to the juicer or the mesh itself.
4. Using proper tools or techniques to safely remove the mesh
When removing the mesh from your juicer, it’s essential to use the right tools or techniques to avoid any accidents. Here are some tips:
- Make sure the juicer is unplugged and turned off before attempting to remove the mesh.
- Use a soft brush or sponge to gently clean any accumulated debris on the mesh.
- If the mesh is removable, carefully detach it according to the manufacturer’s instructions.
- If the mesh is fixed, use a cleaning tool provided by the manufacturer or a soft cloth to wipe away any residue.
- Be careful not to apply excessive force or use sharp objects that may damage the mesh.
How to Clean the Removed Mesh from Your Juicer
1. Rinsing the Mesh under Running Water
To begin cleaning the removed mesh from your juicer, start by rinsing it under running water. This step will help remove any loose residue or debris stuck on the mesh.
2. Using a Soft Brush to Remove Any Residue or Debris
After rinsing, gently scrub the mesh with a soft brush to get rid of any remaining residue or debris. Be cautious not to apply too much pressure, as it may damage the mesh.
3. Soaking the Mesh in a Cleaning Solution, if Needed
If the mesh is still dirty or has stubborn stains, you can soak it in a cleaning solution. Prepare a mixture of warm water and mild dish soap or a specially formulated juicer cleaning solution. Submerge the mesh in the solution and let it soak for a few minutes to loosen any tough buildup.
4. Drying the Mesh Thoroughly before Reassembling the Juicer
After cleaning, make sure the mesh is completely dry before reassembling it into your juicer. Use a clean cloth or paper towel to pat it dry or let it air dry naturally. Moisture can cause mold or bacterial growth, so ensure that the mesh is thoroughly dried to maintain its cleanliness.
| Cleaning Tips for Your Juicer’s Mesh | |
|---|---|
| Tip 1: | Rinse the mesh immediately after each use to prevent residue from drying and becoming harder to remove. |
| Tip 2: | For stubborn stains, you can also try using a mixture of baking soda and water to create a paste. Apply the paste to the mesh, let it sit for a few minutes, and then gently scrub before rinsing. |
| Tip 3: | Regularly clean the juicer’s mesh to ensure optimal performance and prevent clogging. It is recommended to clean it after every use. |
[su_note note_color=”#ea2e0c” text_color=”#ffffff” radius=”8″]Extra Tips: Prevent residue buildup by rinsing the mesh immediately after each use, try a baking soda paste for stubborn stains, and clean the mesh regularly for optimal performance.[/su_note]
Replacing the Mesh in the Juicer
1. Buying a New Mesh, if Necessary
Before replacing the mesh in your juicer, you need to determine if a new one is needed. Check the condition of the existing mesh for any damage or wear. If you find any tears, holes, or signs of deterioration, it’s recommended to purchase a replacement mesh.
When purchasing a new mesh, make sure it is specifically designed for your juicer model. Different juicers may have different sizes and shapes of meshes, and using an incompatible one can affect the juicer’s performance or cause damage.
2. Checking Compatibility with the Juicer Model
Ensuring compatibility is crucial when replacing the mesh in your juicer. Refer to the product specifications or consult the manufacturer’s website to find the exact mesh model that suits your juicer. Using the correct mesh will ensure a proper fit and seamless operation.
3. Following the Manufacturer’s Instructions for Mesh Replacement
Manufacturers provide specific instructions for replacing the mesh in their juicers. These instructions may vary, so it’s important to refer to the user manual or any accompanying documentation. Following the manufacturer’s guidelines will help you avoid mistakes and ensure a successful mesh replacement.
4. Properly Securing the Mesh for Optimal Juicing Performance
Once you have the new mesh and the necessary instructions, it’s time to replace it in your juicer. Take extra care to securely attach the mesh to ensure optimal juicing performance. Improper installation can result in leakage, reduced juice extraction, or even damage to the juicer.
Ensure that the mesh is aligned correctly with the juicer’s body and firmly attached. Double-check for any loose parts or gaps that could affect the juicer’s functionality. Properly securing the mesh will guarantee efficient juicing and prolong the lifespan of your juicer.
Remember, regular maintenance and proper cleaning of the mesh are essential to keep your juicer in top condition. By obeying these steps and taking care of your juicer, you can enjoy fresh and nutritious juices for a long time.
Conclusion
Removing the mesh from your juicer can be done safely and effectively with the right technique. By observing a few simple steps, you can easily clean or replace the mesh in your juicer.
It’s important to handle the mesh with care to avoid any damage and ensure the longevity of your juicer. Regular cleaning and maintenance of the mesh will help to maintain the quality of your juicer and ensure optimal performance. With this knowledge, you can confidently remove the mesh from your juicer and continue enjoying fresh and healthy juices.
Faq about How to Remove Mesh From Juicer?
FAQ 1: Can I clean the mesh in the dishwasher?
Yes, you can clean the mesh of your juicer in the dishwasher. Nonetheless, it is important to check the manufacturer’s instructions before doing so to ensure that the mesh is dishwasher-safe. Some juicers have removable mesh parts that are designed to be dishwasher-friendly, During others may require hand-washing.
FAQ 2: How often should I replace the mesh in my juicer?
The frequency of mesh replacement depends on the quality of the mesh and the usage of your juicer. In general, it is recommended to replace the mesh every 6 to 12 months for optimal performance. Nonetheless, if you notice any signs of damage or wear, such as holes or tears, it is advisable to replace it sooner.
FAQ 3: What should I do if the mesh is damaged?
If the mesh in your juicer is damaged, it is best to replace it with a new one. Continuing to use a damaged mesh can affect the quality of your juice and may even cause damage to the juicer itself. Contact the manufacturer or check the juicer’s user manual for information on where to purchase a replacement mesh.
FAQ 4: Can I use a different type of mesh in my juicer?
It is recommended to use the specific type of mesh that is designed for your juicer model. Using a different type of mesh may not fit properly or function correctly, resulting in poor juicing performance. To ensure optimal results, it is best to stick to the recommended mesh provided by the manufacturer.
FAQ 5: Is it possible to remove the mesh without taking apart the juicer?
In most juicers, the mesh is a removable part that can be easily taken apart for cleaning or replacement. Nonetheless, the specific method may vary depending on the juicer model. Refer to the user manual or contact the manufacturer for instructions on how to remove the mesh without disassembling the entire juicer.
Read Similar Post:
1. Juice Sugar Cane in a Juicer: Unleash the Sweetness of Freshly Extracted Sugarcane Juice
2. Exploring Hamilton Beach’s Juicer Collection: Unveiling the Range of Options