How To Make Soy Milk With A Juicer?
[su_note note_color=”#fb8e00″ text_color=”#000000″ radius=”12″]
[/su_note]
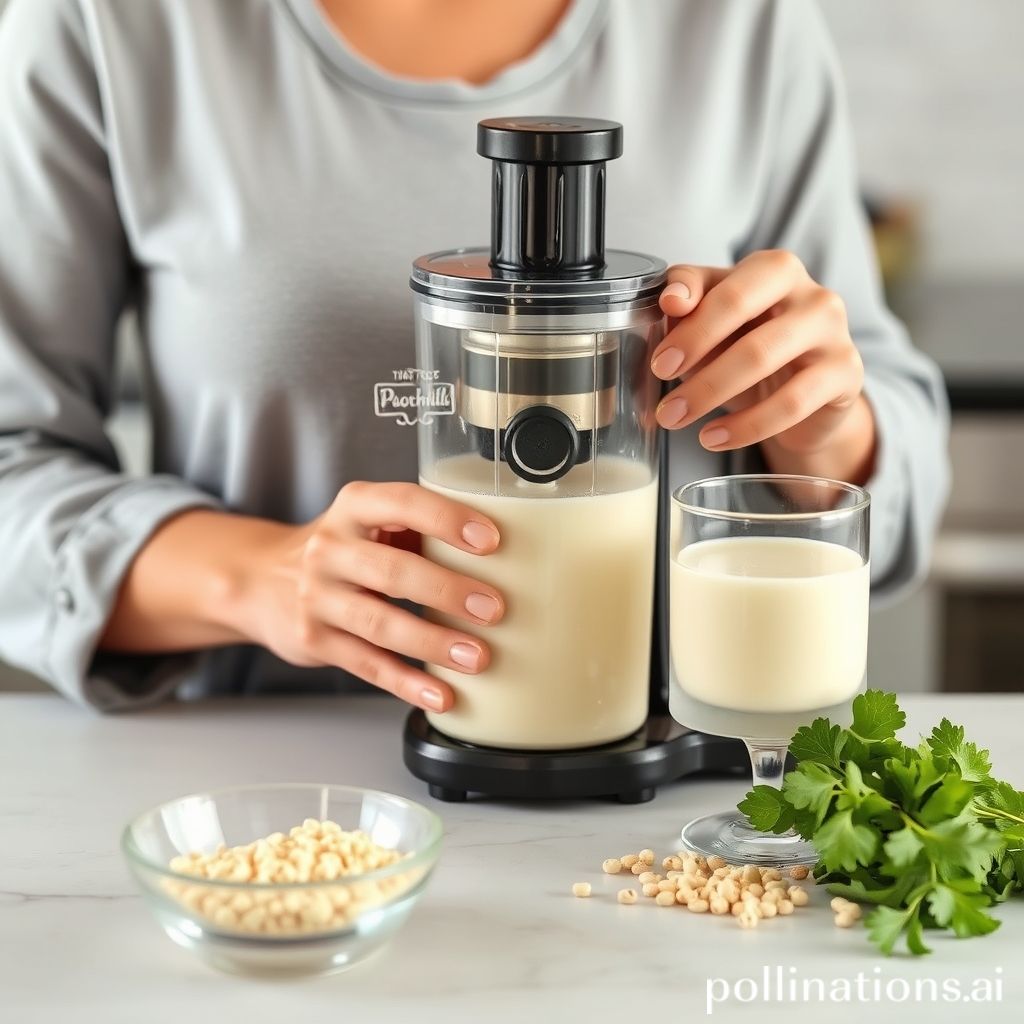
Soy milk, a nutritious and plant-based alternative to dairy milk, can be easily made at home using a juicer. If you’re wondering how to make soy milk with a juicer, you’re in the right place.
With a few simple steps, you can enjoy fresh and creamy soy milk right from your own kitchen. Making soy milk with a juicer involves soaking soybeans, blending them with water, and then using a juicer to extract the liquid. The result is a smooth and flavorful beverage that can be used in various recipes or enjoyed on its own. Get ready to discover the satisfaction of homemade soy milk with the help of your juicer.
[su_box title=”
” box_color=”#21db92″]
I. Making soy milk with a juicer is a simple process that requires only a few steps and ingredients.
II. The first step is to soak the soybeans overnight, then blend them with water in the juicer until smooth.
III. After straining the mixture, heat it on the stove and add sweeteners or flavors of your choice to customize the taste of your homemade soy milk.[/su_box]

Advantages of Creating Soy Milk using a Juicer
1. Retains Nutrients
Utilizing a juicer to make soy milk enables you to keep the maximum amount of nutrients from the soybeans. Unlike commercially available options that undergo extensive processing, juicing soybeans preserves their natural vitamins, minerals, and antioxidants. This ensures that you can benefit from the complete nutritional value of soy milk, including its protein content, omega-3 fatty acids, and isoflavones.
2. Customizable Flavors
Using a juicer to make soy milk provides the freedom to personalize the flavors according to your preferences. You can experiment with various ingredients like vanilla, chocolate, or fruits to create unique and delicious soy milk flavors. Whether you prefer a sweeter taste or a more subtle flavor, a juicer enables you to adjust the ingredients and create a soy milk that perfectly suits your taste buds.
3. Cost-effective
A significant advantage of using a juicer to make soy milk is its cost-effectiveness. Purchasing commercially available soy milk can be expensive, especially if you consume it regularly. By making your own soy milk at home using a juicer, you can save money in the long term. All you need are affordable and readily available soybeans and water. This makes homemade soy milk a budget-friendly choice.
4. No Additives or Preservatives
When you make soy milk with a juicer, you have complete control over the ingredients used. Unlike commercial soy milk that may contain additives, preservatives, or sweeteners, homemade soy milk is free from any unwanted chemicals. It provides a pure and natural alternative, ensuring that you know precisely what goes into your beverage.
5. Environmentally Friendly
Creating soy milk with a juicer contributes to a more environmentally friendly lifestyle. By reducing your dependence on store-bought cartons or plastic bottles, you can minimize your carbon footprint. Additionally, juicing soybeans produces less waste compared to traditional methods of making soy milk. You can repurpose the soybean pulp for other culinary purposes, reducing food waste and promoting sustainability.
[su_highlight background=”#f6b40f”]Expert Tips: Create nutritious, customizable, and cost-effective soy milk at home using a juicer. Avoid additives, be environmentally friendly, and enjoy unique flavors![/su_highlight]
Preparation and Ingredients
1. Preparing the Soybeans
To make soy milk with a juicer, you will first need to soak the soybeans to soften them and remove any impurities. Follow these steps:
- Measure the soybeans: Start by measuring the desired amount of soybeans you want to use for making soy milk. A recommended ratio is 1 cup of soybeans to 4 cups of water.
- Wash the soybeans: Rinse the soybeans thoroughly under running water to remove any dirt or debris.
- Soak the soybeans: Place the washed soybeans in a large bowl or container and cover them with water. Allow them to soak for at least 8 hours or overnight. This will help soften the beans and make them easier to blend.
2. Gathering Additional Ingredients and Equipment
Once the soybeans are soaked, you will need to gather the remaining ingredients and equipment necessary for making soy milk with a juicer. Here’s what you’ll need:
- Water: In addition to the water used for soaking the soybeans, you will need extra water for blending and diluting the soy milk.
- Sweetener (optional): If desired, you can add a sweetener such as sugar, honey, or maple syrup to enhance the flavor of the soy milk.
- Flavorings (optional): You can also add flavorings like vanilla extract or cocoa powder to customize the taste of your soy milk.
- Juicer: Make sure you have a juicer capable of handling soybeans. Look for a juicer with a strong motor and a fine mesh strainer to ensure smooth and creamy soy milk.
- Blender (optional): If your juicer does not have a built-in blender function, you may need a separate blender to blend the soaked soybeans.
- Bowl or pitcher: Prepare a bowl or pitcher to collect the freshly juiced soy milk.
Juicing Process
1. Draining and Rinsing the Soybeans
To initiate the process of creating soy milk with a juicer, you should first drain and rinse the soybeans. This action eliminates impurities and prepares the soybeans for juicing.
2. Adding Soybeans to the Juicer
Once the soybeans have been drained and rinsed, place them into the juicer. It is crucial to adhere to the instructions provided by the manufacturer for your specific juicer model.
3. Extracting the Soy Milk
Switch on the juicer and commence the extraction of soy milk. The juicer will grind and process the soybeans, effectively separating the milk from the solids.
4. Straining the Soy Milk
Once the soy milk has been extracted, it is imperative to strain it in order to eliminate any remaining solids or pulp. This can be accomplished by using a fine mesh strainer or cheesecloth.
Flavoring and Sweetening Options
1. Adding Natural Flavors
Enhance the taste of your homemade soy milk by adding natural flavors. Here are some options:
- Fruit: Blend in fresh or frozen fruits like strawberries, bananas, or blueberries to give your soy milk a fruity twist.
- Vanilla: Add a few drops of vanilla extract for a sweet and aromatic flavor in your soy milk.
- Cocoa Powder: For chocolate lovers, mix in cocoa powder to create a rich and indulgent soy milk.
- Spices: Experiment with spices like cinnamon, nutmeg, or cardamom to add warmth and depth to your soy milk.
2. Sweetening the Soy Milk
If you prefer a sweeter soy milk, try these sweetening options:
- Honey: Stir in a spoonful of honey for a natural and subtle sweetness.
- Maple Syrup: Drizzle some maple syrup into your soy milk for a distinct and caramel-like flavor.
- Agave Nectar: Use agave nectar as an alternative to traditional sweeteners for a mild and delicate sweetness.
- Stevia: For a calorie-free option, add a few drops of liquid stevia to sweeten your soy milk.
Remember to taste and adjust the flavors and sweetness according to your preference. Enjoy your homemade soy milk with the perfect flavor and sweetness of your choice!
| Information |
|---|
| Soy milk can be flavored with fruits, vanilla, cocoa powder, or spices. |
| Sweeten your soy milk with honey, maple syrup, agave nectar, or stevia. |
[su_note note_color=”#ea2e0c” text_color=”#ffffff” radius=”8″]Extra Tips: Customize your homemade soy milk with natural flavors like fruits and spices, and sweeten it with options like honey or maple syrup for the perfect taste.[/su_note]
Storing and Using Soy Milk
1. Proper Storage Containers
To maintain the freshness and quality of homemade soy milk, it is important to choose the right storage containers. Opt for glass containers with airtight lids to prevent any transfer of flavors or odors. Glass containers are also easier to clean and sterilize, ensuring that your soy milk remains safe to consume.
When selecting the size of the containers, consider your consumption habits. It is best to store soy milk in smaller portions to minimize exposure to air and reduce the risk of spoilage. Additionally, labeling the containers with the date of preparation can help you keep track of freshness.
2. Refrigerating and Freezing
After making soy milk, it is important to store it properly to extend its shelf life. The most common method of storing soy milk is refrigeration. Transfer the soy milk into the chosen storage containers and place them in the refrigerator. Keep in mind that soy milk tends to separate, so give it a gentle shake before using.
If you have made a large batch of soy milk and want to store it for a longer period, freezing is an excellent option. Pour the soy milk into ice cube trays or freezer-safe containers, leaving some room for expansion. Once frozen, transfer the milk cubes or containers to a freezer bag for better organization and to prevent freezer burn.
3. Using Soy Milk in Recipes
Soy milk is a versatile ingredient that can be used in various recipes to add creaminess and nutrition. It can be substituted for dairy milk in almost any recipe, including baked goods, smoothies, soups, and sauces. When using soy milk in recipes, keep in mind its distinct flavor and adjust seasoning accordingly.
For baking, soy milk can be used as a one-to-one replacement for dairy milk. It helps to enhance the texture and moisture of the final product. In savory dishes, soy milk can be used to create creamy sauces or as a base for soups and stews.
Experimenting with different recipes and techniques can help you discover new and exciting ways to incorporate soy milk into your culinary creations.
Conclusion
Making soy milk with a juicer is a simple and efficient process. By maintaining the step-by-step instructions provided in this article, you can easily prepare fresh and nutritious soy milk at home.
Using a juicer not only saves time but also ensures a smooth and creamy texture. Experimenting with different flavors and adding sweeteners or flavorings of your choice can further enhance the taste of your homemade soy milk. So, why not give it a try and enjoy the benefits of this healthy and delicious alternative to dairy milk? Start juicing and enjoy a refreshing glass of homemade soy milk today!
Faq about How To Make Soy Milk With A Juicer?
FAQ 1: Can I use any type of juicer to make soy milk?
Yes, you can use any type of juicer to make soy milk. Nevertheless, a masticating juicer is recommended for the best results. Masticating juicers are efficient at extracting the maximum amount of liquid from the soybeans, resulting in a higher yield of soy milk.
FAQ 2: How long does it take to make soy milk with a juicer?
The time it takes to make soy milk with a juicer can vary depending on the juicer and the quantity of soybeans used. On average, it takes about 20-30 minutes to soak the soybeans, and another 10-15 minutes to juice and strain the soy milk.
FAQ 3: Can I make other nut milks using a juicer?
Yes, you can make other nut milks using a juicer. The process is similar to making soy milk. Soak the nuts, juice them using the juicer, and strain the milk. Popular nut milk options include almond milk, cashew milk, and oat milk.
FAQ 4: Is homemade soy milk healthier than store-bought?
Homemade soy milk can be healthier than store-bought options because you have control over the ingredients and the amount of sweeteners or additives used. Additionally, homemade soy milk is fresher and doesn’t contain any preservatives. Nevertheless, it’s important to note that store-bought soy milk may be fortified with additional nutrients.
FAQ 5: Can I reuse the soybean pulp leftover from juicing?
Yes, you can reuse the soybean pulp leftover from juicing. The pulp, also known as okara, can be used in various recipes such as veggie burgers, cookies, or added to soups and stews for added nutrition and texture. It’s a great way to minimize waste and make the most out of your soy milk-making process.
Read Similar Post:
1. Juicer vs. Cold Press Juicer: Unveiling the Benefits and Choosing the Perfect Juicing Method
2. Boost Your Business with a Commercial Juicer: A Complete Guide to Features, Benefits, and Types