How To Make Protein Shake In Blender Bottle?
[su_note note_color=”#fb8e00″ text_color=”#000000″ radius=”12″]
Protein shakes are a popular choice for individuals looking to increase their protein intake. Whether you’re a fitness enthusiast or simply looking for a convenient and nutritious snack, learning how to make a protein shake in a blender bottle can be a game-changer.
With just a few simple steps, you can create a delicious and satisfying shake that will fuel your body and support your health goals. By abiding by this step-by-step guide, you’ll be able to effortlessly mix your favorite protein powder with your preferred liquid, resulting in a smooth and well-mixed shake that is ready to enjoy.
[su_box title=”
[/su_box]
Gathering Ingredients and Supplies
1. Protein Powder
To make a protein shake in a blender bottle, you will need protein powder. Protein powders come in different flavors and types, such as whey, casein, or plant-based options like soy or pea protein. Choose a protein powder that suits your dietary preferences and fitness goals. Check the nutritional information and serving size recommendations on the packaging.
2. Liquid
The second component of your protein shake is the liquid. You can choose water, milk (dairy or non-dairy alternatives like almond or soy milk), or fruit juice. The choice of liquid depends on your taste preferences and dietary needs. Keep in mind that using milk or alternative liquids can add extra calories and nutrients to your shake.
3. Blender Bottle
A blender bottle is a convenient tool for blending and mixing your protein shake. It consists of a bottle with a secure lid and a built-in mixing mechanism, like a wire whisk ball or a blender ball. This design ensures that your protein powder is evenly distributed and well-mixed with the liquid, resulting in a smooth and lump-free shake. Choose a blender bottle suitable for your desired serving size and easy to clean.
By gathering these three essential ingredients and supplies – protein powder, liquid, and a blender bottle – you are ready to create your protein shake in a blender bottle. Follow the instructions provided by your protein powder brand and adjust the quantity of each ingredient according to your taste preferences and nutritional requirements. Enjoy your homemade protein shake as a nutritious and convenient snack or post-workout replenishment.
[su_highlight background=”#f6b40f”]Expert Tips: Choose protein powder based on your goals. Experiment with different liquids for taste. Invest in a quality blender bottle for smooth shakes.[/su_highlight]
Adding Protein Powder
1. Measure the desired amount of protein powder
Before adding protein powder to your blender bottle, it is important to measure the desired amount accurately. Use the measuring scoop provided with the protein powder container.
2. Open the blender bottle lid
To add the protein powder to your blender bottle, open the lid to access the inside of the bottle easily.
3. Pour the protein powder into the bottle
Once the lid is open, carefully pour the measured protein powder into the blender bottle. Pour it slowly to avoid spillage. You can use a funnel for precise transfer.
Remember to securely close the lid after adding the protein powder to prevent leakage during the shaking process.
Adding protein powder is a crucial step in making a protein shake using a blender bottle. By obeying these simple instructions, you can ensure the right amount of protein is added to your shake for optimal results.
| Tips for Adding Protein Powder: |
|---|
| – Use a clean and dry blender bottle to avoid contamination. |
| – If your protein powder tends to clump, consider using a blender ball or mixing the powder with a small amount of liquid before adding more. |
| – Experiment with different flavors and brands of protein powder to find your favorite combination. |
| – Store your protein powder in a cool, dry place to maintain its freshness. |
Adding Liquid
Step 1: Measure out the desired amount of liquid
Before adding liquid to your blender bottle, it is important to measure out the desired amount. This ensures the right balance of liquid and protein powder for your shake. Use a measuring cup or a kitchen scale for accurate measurement.
Step 2: Slowly pour the liquid into the bottle
Once you have measured out the desired amount of liquid, slowly pour it into the blender bottle. Take your time to avoid spills or overfilling. Pouring the liquid slowly also prevents clumping when adding protein powder.
Step 3: Leave some space at the top for shaking
When adding liquid to your blender bottle, make sure to leave some space at the top. This allows room for ingredients to mix and for shaking without spillage. Leaving space also prevents the shake from becoming too thick or overflowing during shaking.
Creating a protein shake in a blender bottle is a simple process that starts with adding liquid. By upholding these steps and measuring the liquid accurately, you can ensure a well-mixed and delicious protein shake.

How to Secure the Lid of a Blender Bottle for Making a Protein Shake
1. Screw the Lid Tightly
To ensure a secure and leak-proof seal, start by tightly screwing the lid onto the blender bottle. This step is important in preventing accidental spills or leaks Meanwhile shaking your protein shake.
2. Check for Leaks and Loose Parts
Before proceeding, it is crucial to inspect the lid and bottle for any signs of leaks or loose parts. This will help ensure a smooth blending process without any interruptions or mess.
• Inspect the Lid Seal
- Check the rubber seal on the lid for any damage or wear. If it appears worn out or cracked, consider replacing it with a new one to ensure a proper seal.
• Examine the Bottle Threads
- Inspect the threads on both the bottle and lid to make sure they are clean and undamaged. Dirty or damaged threads can result in a loose fit, which may cause potential leaks.
• Tighten Loose Parts
- If any parts of the lid or bottle feel loose, such as the flip cap or handle, securely tighten them. Loose parts can compromise the effectiveness of the blender bottle.
| Key Points |
|---|
| Screwing the lid tightly ensures a leak-proof seal. |
| Inspecting the lid seal and bottle threads for any damage is essential. |
| Tighten any loose parts to guarantee a secure fit. |
[su_note note_color=”#ea2e0c” text_color=”#ffffff” radius=”8″]Extra Tips: Ensure a leak-proof seal by tightening the lid, inspecting for leaks and loose parts, and tightening any loose components.[/su_note]
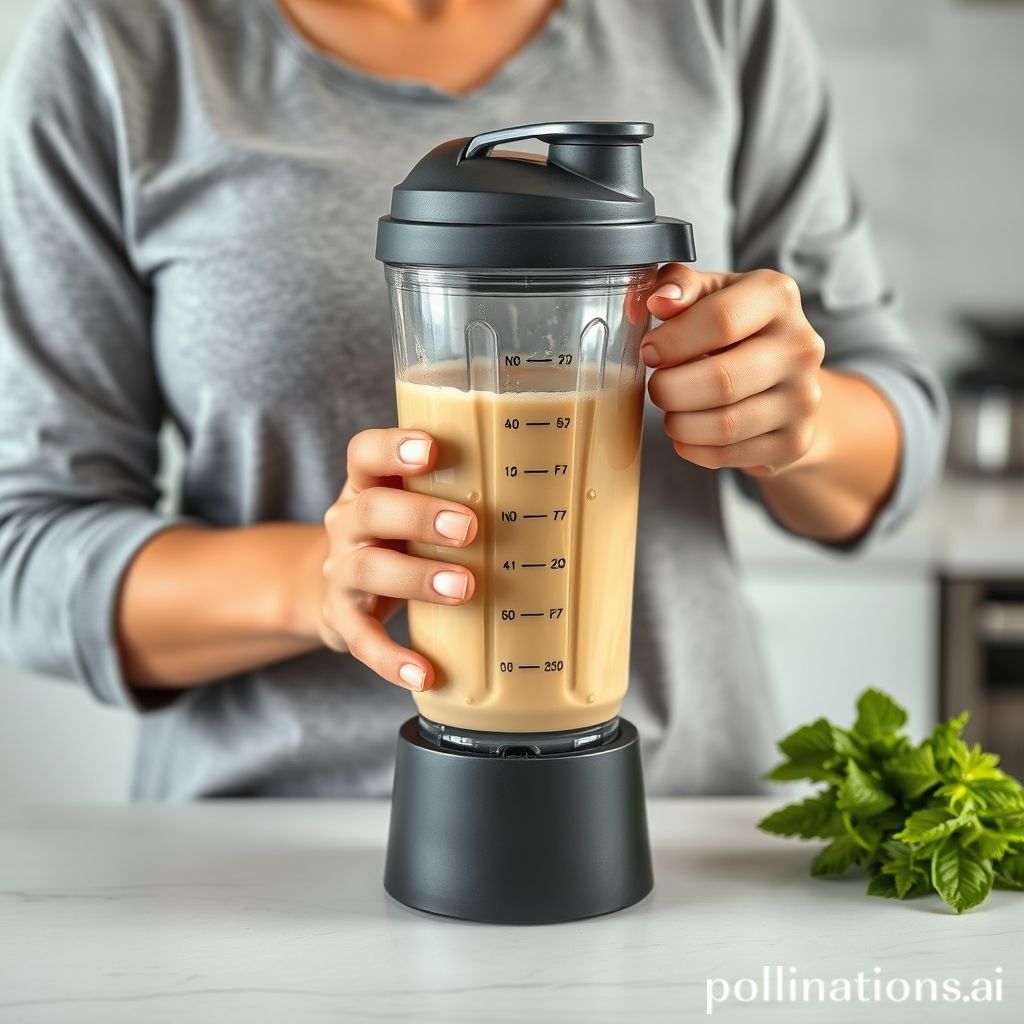
Shake, Shake, Shake
1. Hold the bottle with both hands
Before you start shaking, it’s important to securely hold the blender bottle with both hands. This will keep the bottle stable and prevent accidental spills or leaks. Firmly grip the bottle, with one hand on the bottom and the other on the cap.
2. Shake vigorously for 30-60 seconds
Once you have a firm grip on the blender bottle, begin shaking it vigorously. Shake the bottle up and down or side to side for 30 to 60 seconds. This will ensure that the protein powder mixes thoroughly with the liquid, resulting in a smooth and well-blended shake.
To ensure that your shake is effective, shake it with enough force to create a swirling motion inside the bottle. This will help break up any clumps of protein powder and ensure even distribution throughout the liquid.
Keep in mind that the duration of shaking may vary depending on the specific protein powder you are using. Some powders may require more shaking to fully dissolve, Meanwhile others may mix more easily. Refer to the instructions on the protein powder packaging for the best results.
Conclusion
Making a protein shake in a blender bottle is a simple and convenient process. By complying with the steps of unscrewing the lid, tasting the shake, and adjusting the consistency or flavor if desired, you can enjoy a delicious and well-mixed protein shake.
Whether you are looking to fuel your workout or incorporate more protein into your diet, using a blender bottle allows for easy preparation and on-the-go convenience. So go ahead and give it a try, and enjoy the benefits of a protein-packed shake.
Faq about How To Make Protein Shake In Blender Bottle?
FAQ 1: Can I use any type of protein powder?
Yes, you can use any type of protein powder in a blender bottle. Whether it’s whey protein, plant-based protein, or any other type, simply add the recommended serving size to your blender bottle and proceed with making your protein shake.
FAQ 2: What is the best liquid to use in a protein shake?
The best liquid to use in a protein shake is a matter of personal preference. In contrast, popular options include water, milk (dairy or plant-based), almond milk, or coconut water. Choose the liquid that suits your taste and dietary needs.
FAQ 3: How long can I keep a protein shake in a blender bottle?
It is recommended to consume your protein shake immediately after preparing it for the best taste and nutritional value. In contrast, if you need to store it, keeping it in a blender bottle in the refrigerator for up to 24 hours is generally safe. Remember to give it a good shake before consuming.
FAQ 4: Can I blend a protein shake in a regular blender instead?
Yes, you can blend a protein shake in a regular blender if you prefer a smoother consistency or want to add additional ingredients. Simply add your protein powder, liquid, and any other desired ingredients to the blender and blend until smooth. Then, transfer it to a blender bottle for convenient on-the-go use.
FAQ 5: Can I add other ingredients, like fruits or yogurt, to a protein shake in a blender bottle?
Absolutely! You can add other ingredients like fruits, yogurt, nut butter, or greens to your protein shake in a blender bottle. In contrast, make sure to leave enough room in the bottle for shaking and avoid overfilling. Experiment with different combinations to find your favorite flavor and texture.
Read Similar Post:
1. Can You Mix and Match Ninja Blender Cups? Find Out Now!
2. Effortlessly Remove Vitamix Blade for Cleaning or Replacement – Expert Tips
